Managing Tables
A Table, or Data Table, in a schema represents an abstract, database independent, structure which corresponds to a database table.
It exposes various properties and contains collections of fields, parameters and statements. A Field could be a direct match to a field in a database, or a calculated field based on multiple other fields. A Statement contains a reference to certain database connections and provides a mapping between the underlying database table (view or stored procedure) and the schema table. Parameters can use used to filter the records retrieved from a data table for certain conditions, or to simply provide parameters that certain operations or stored procedures require.
Tables can be created in one of a few ways, either by manually creating a table and adding the fields one by one, by using drag and drop from the Connection Manager, or using the wizard to create a schema.
This document will describe how to use the first two methods, and describe the properties you can set on the table.
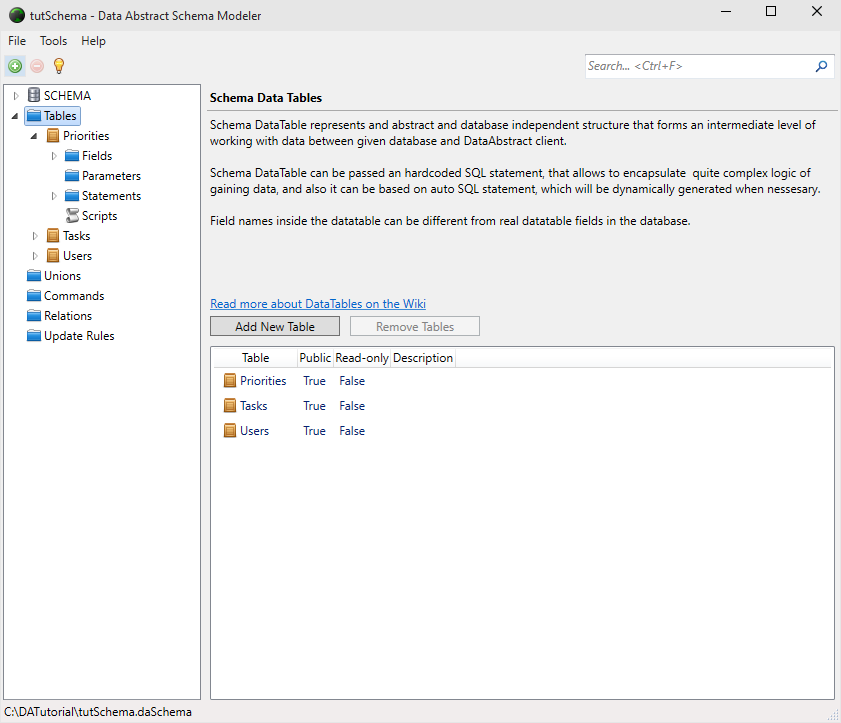
This top level page, visible when you select the Tables folder in the left pane, gives you some basic information about the tables that have already been created. At a quick glance you can see the names of the tables & a description if its been supplied, whether the tables are visible to all and whether the tables are read-only.
Creating a Table by Drag & Drop
The most efficient method to creating and populating a table in Schema Modeler is to drag a Table, View or Stored Procedure from the Connection Manager window into the Schema tree in the left pane.
A new Schema table will then be created and properly configured for you. Each table will have a list of fields which match those in the database, views will be added as appropriate and the statement will be configured to the appropriate connection.
Once everything has been important, you can then apply any additional configuration you require to the Table. See the Editing the Table properties section below for more information on that.
Create a Table manually
If you didn't create a table through the wizard or by using drag & drop, then you can either:
- Quickly add a new table by right clicking on "Tables" from the Schema tree in the left pane and selecting Add.
- Click on "Add New Table" which is available in the right hand pane when you click on the Tables folder in the Schema tree.
Then you need to add a Statement which will link the new table to one available through the Connection Manager. Click on the Green + button in the statement section (bottom right), which will open the Statement View. There choose the required Connection or Connection Type and the TargetTable in the database.
By default each new statement is AutoSQL, but if you have some more specific needs for retrieving the data you can then change the statement to use Custom SQL instead and specify the required SELECT expression there.
The final step is to click on Recreate Fields which will update the table based on the changes you made in the Statement view.
Editing the Table properties
Once a table has been created, or if you select a table from the Tables folder in the Schema tree you will be taken to the Table View where you can edit the properties of the table and get a quick overview of the fields, statements and parameters that it contains.
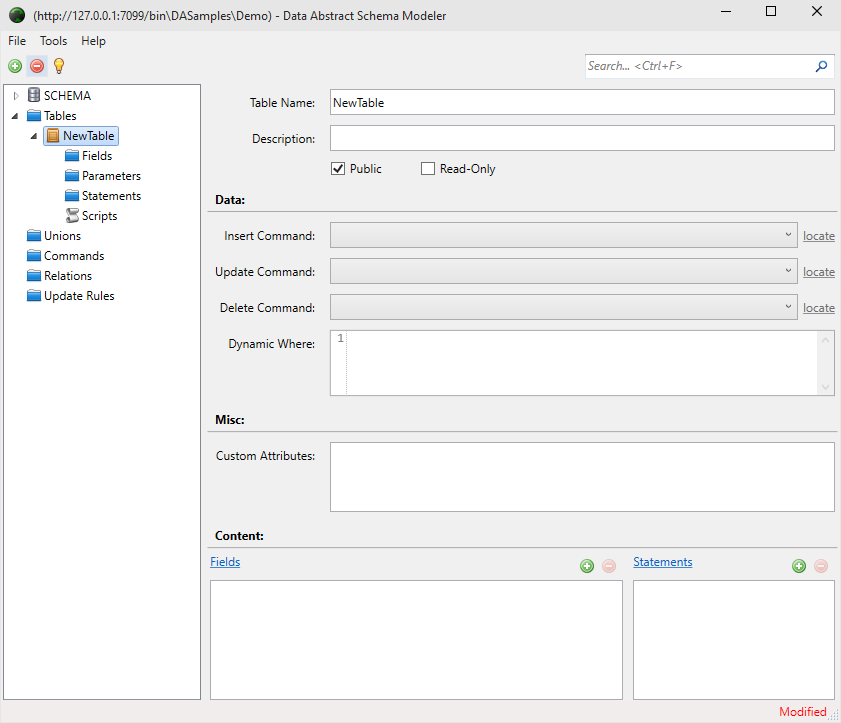
The tables page is broken down into four sections:
- General - Which covers the basic details about the table like its unique name, an optional description, whether its publicly available to client applications and whether the table is supposed to be read-only.
- Data - Which allows you to specify what database command to execute when
Insert,UpdateorDeletedelta requests are received. You can also specify a Dynamic Where XML statement. - Misc - Here you can specify custom attributes that can be used for any purpose you desire. You supply a string that can then be read by the client, allowing you to for instance restrict access to the table based on user roles.
- Content - The content section displays any fields, parameters or statements that are currently available in the table. You can quickly add a new one by pressing the green + icon, or delete one by clicking on it and then pressing the red - icon.
Working with Fields
The Fields view, visible when you click on the Fields folder in the Schema tree, provides a quick overview of the fields that are currently available in the selected Table.
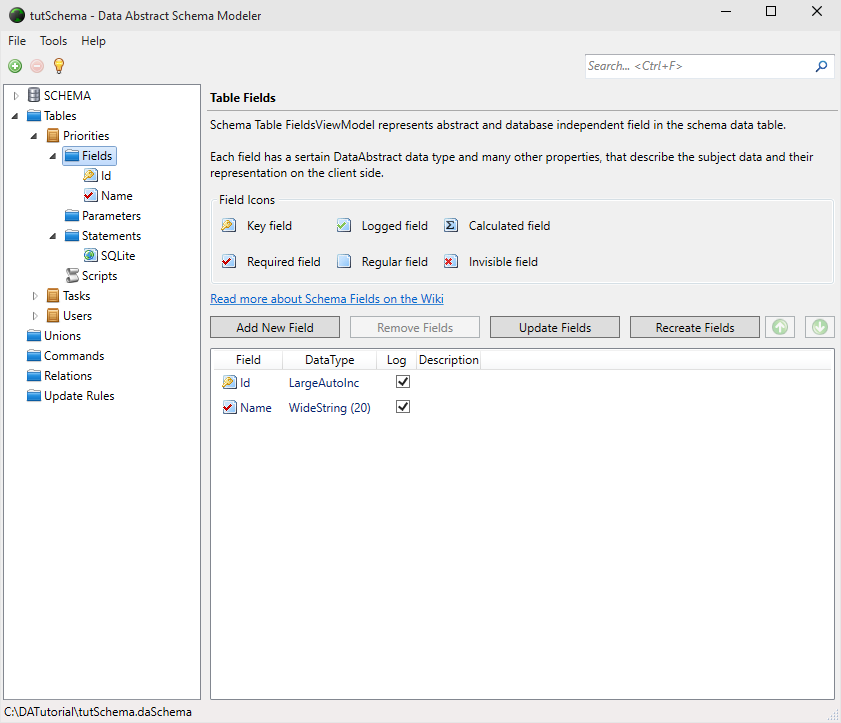
Not only can you see the type of each field based on its icon and the handy key, you can also see its name, DataType including size, whether its Logged and its optional description.
In this Field View you can also add, remove and update fields, update their ordering or if you have messed up you can recreate the fields again based on the underlying database table.
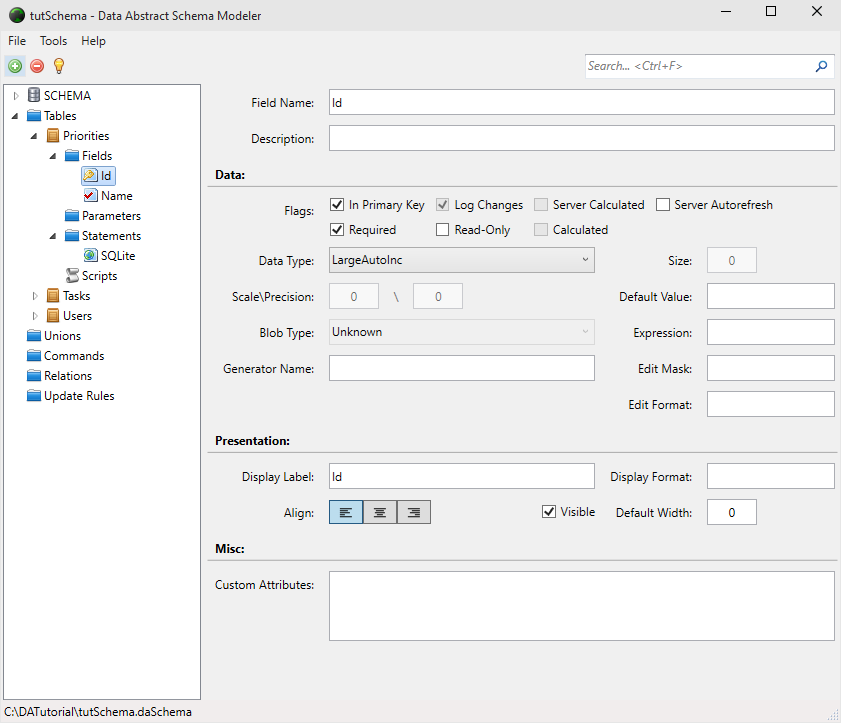
If you open the Fields folder and select a field you can see and edit the details of the selected field.
This view is split into four sections allowing you to customise the field to your needs:
- General - You can change the field name here, and supply an optional description of what the field is used for.
- Data - Here you can manage the main details of the field. You can specify if its a primary key, a Calculated field, its data type and much more.
- Presentation - allows you to supply information about how the field would be presented in a table view. You can specify a separate label to use instead of the field's name, its alignment, whether it should be visible (for instance in a client app you wouldn't normally display the id field) and so on.
- Misc - Here you can specify custom attributes that can be used to tune your business logic.
Working with Parameters
Parameters can be used to filter the records retrieved from a data table based on particular conditions, to provider parameters that an operation requires, or to pass additional data to insert/update/delete statements.
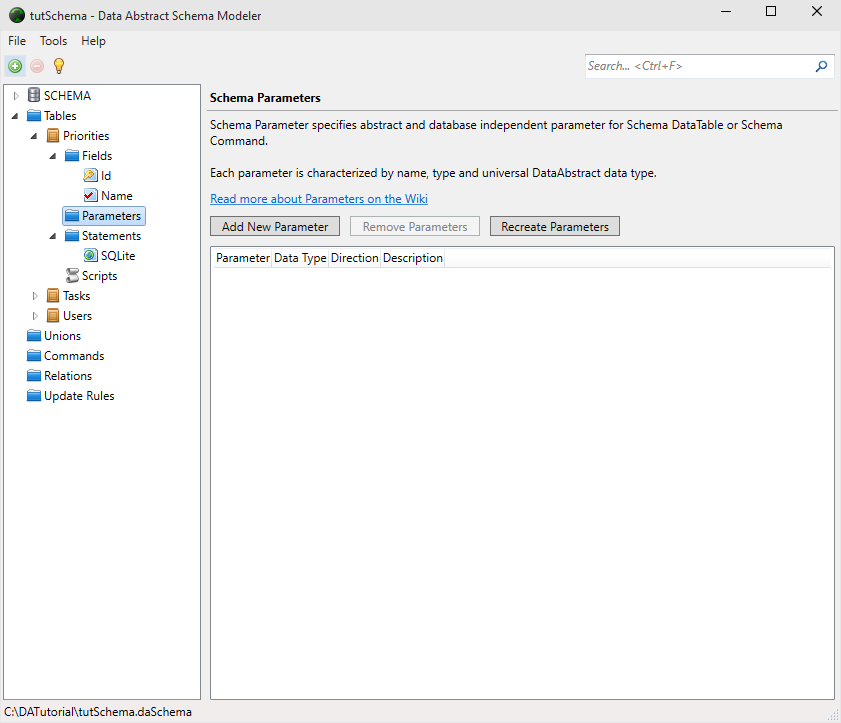
When you click on the Parameters folder from the Schema tree you can see the main Parameters view, which provides an overview of any parameters that have already been created; including their name, data type, direction and optional description.
From here you can quickly add a new Parameter, remove a selected parameter or recreate any parameters from the underlying database.
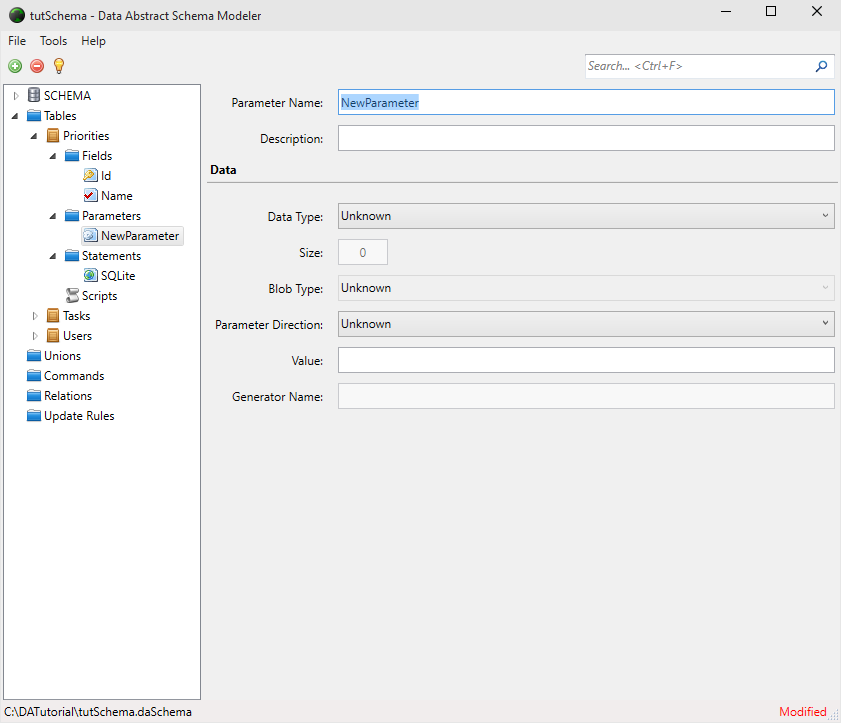
If you add a new parameter, or select a parameter in the Parameters folder you will be taken to the Parameters View where you can edit the details.
The view is broken into two sections:
- General which allows you to edit the unique name of the parameter, and provide an optional description.
- Data allows you to set/tweak the details about the parameter, including its data type, whether its used as an input/output/both parameter, its value and so on.
Working with Statements
A Statement defines the mapping between the Schema Table and the underlying database Table. It can either based on a SQL statement, a stored procedure or dynamically generated using AutoSQL.
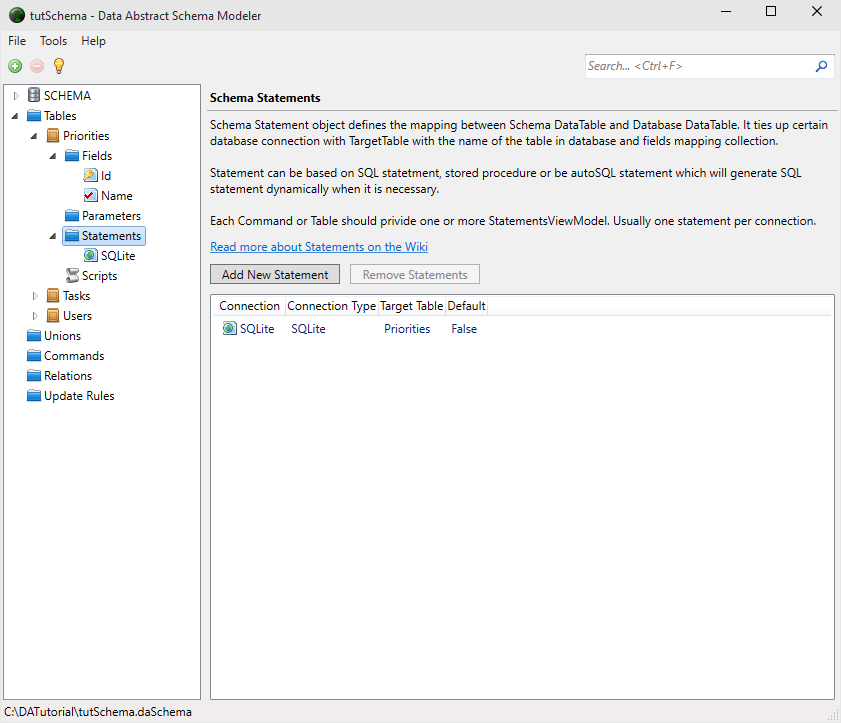
When you select the Statements folder in the Schema tree view, you get an overview of the Statements that have already been defined. You can quickly see the connection name, its type which is usually the database type its connection to, the target table, and whether it is the default statement.
You can quickly add or remove statements by pressing the appropriate button.
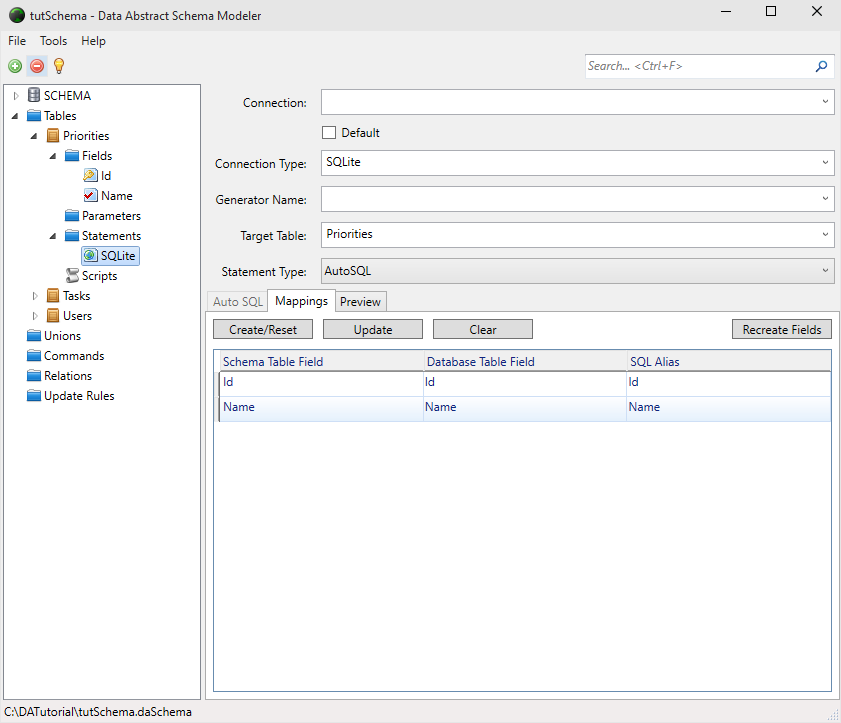
If you add a new Statement, or select a statement from the Statements folder in the Schema tree you will be taken to the Statement View where you can edit the statements details. Note that the drop down selector on the right side of the textfields provides a handy shortcut to specifying a value.
The first field, Connection is the connection name. It should be set to the name of the Connection in the Connection Manager you wish to use. If left blank, then the connection name will be set to the value specified for Connection Type of the default Connection.
The Connection Type field will update to match the Connection Type specified for the selected Connection. You would normally not need to edit this.
The Target Table allows you to choose which of underlying database tables this statement is connected to.
The Statement Type allows you to specify whether the schema should use AutoSQL, SQL (which it can generate for you) or a Stored Procedure. Note that the area below this field will change depending on your selection.
You will then be able to view the sql, the mappings between schema fields and the database fields, and preview the data.
Working with Scripts
Here you can specify Business Logic, or Business Rules that are written in JavaScript and executed when certain specified events occur. For instance when adding a new row, or before getting data or processing a delta update.
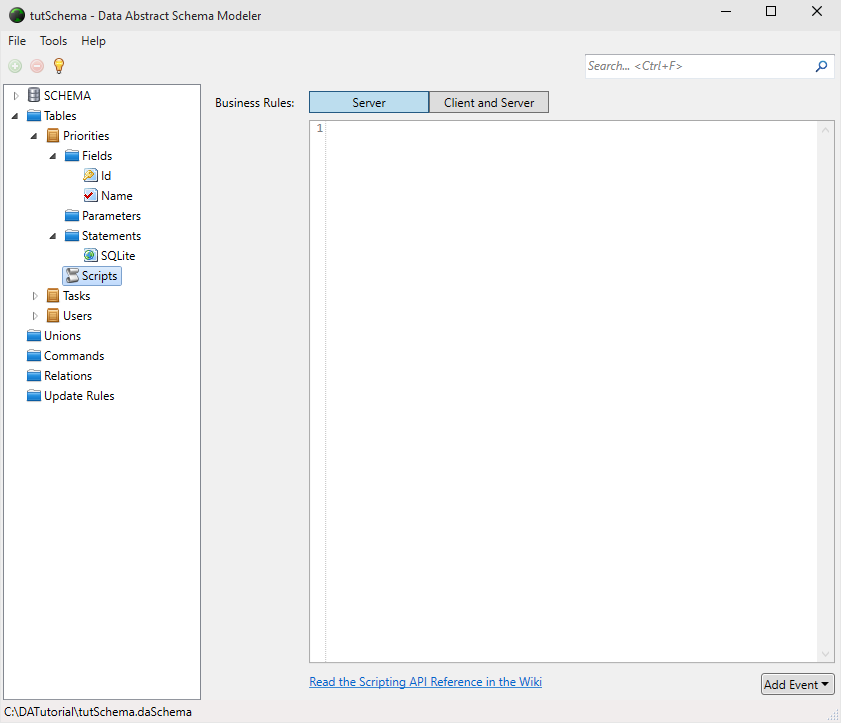
To add a new script, or see the scripts already set for the table, select the Scripts view from the Schema tree.
Here you can edit the rules for both the server, and for certain client/server operations. Each script hangs off an event that you can add by pressing the Add Event button. You then add your code directly into the provided editor in the section marked // Add your code here.
You can find more information about the events able to Business Rules in the Business Rules API section.