Creating New Schemas
Schemas are the foundation of how the Relativity middle-tier, or indeed a custom Data Abstract server, interact with the underlying database.
A Schema defines a set of Data Tables including their structure and Relationships, and how they relate to the actual data stored in the back-end database(s).
Normally you would create an empty schema when using the Relativity Admin Tool or via the Relativity Web Interface when you are setting up a Domain, and then select "Open in Schema Modeler" to load that domain directly into Schema Modeler.
Sometimes however you want to be able to work on a schema, or indeed have someone else design a schema, without having to step through another tool. Schema Modeler has this covered as you can save the completed Schema and load it into a Domain.
This is possible because the schemas are independent of the Domain they are contained in. So its quite possible to create a Schema and then add it to a wholly different domain than it was created for.
Creating a Basic Schema
The simplest way to create a new schema with the Schema Modeler is to click on File->New. This will create an unpopulated schema document.
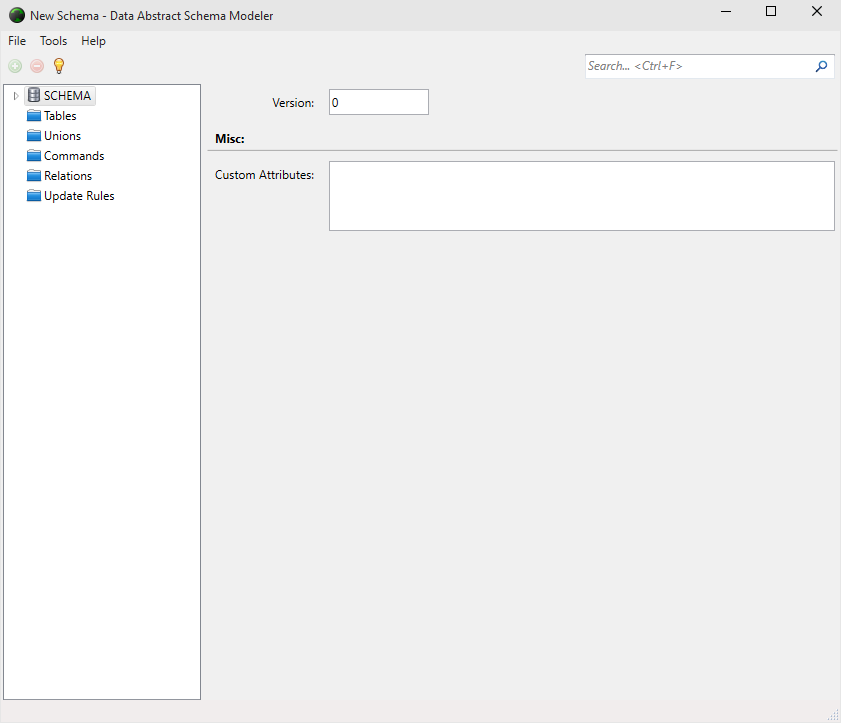
The Version field is provided so that you can have a form of version control. This means that client apps built against an earlier version of the Schema will know if the middle-tier's Schema is newer and therefore shouldn't interact with it.
The Custom Attributes field allows you to specify a String that can be accessed at design time but also through Data Abstract classes. You can use this for anything you want, for example if you be used to specify the level of permission need for a user to be able to access this schema.
The Scripts area, which is visible when you expand the Schema tree, is where you will put Business Rules aimed at the Schema level.
The next step after this would be to create or load a Connection in the Connection Manager and then create a table.
Creating a Schema with a Wizard
Another way to create a Schema is to use the handy "wizard" which will take you through the steps of specifying a connection and choosing the tables you are interested in.
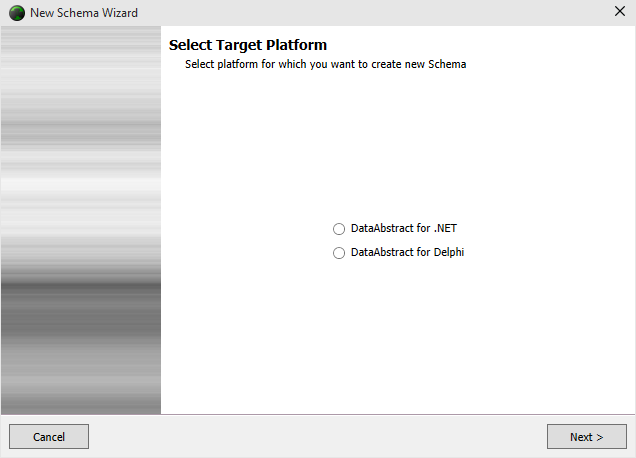
To get started, click on Tools->New Schema Wizard and begin by specifying for which version of Data Abstract the schema is going to be used with. Make a choice and then click Next.
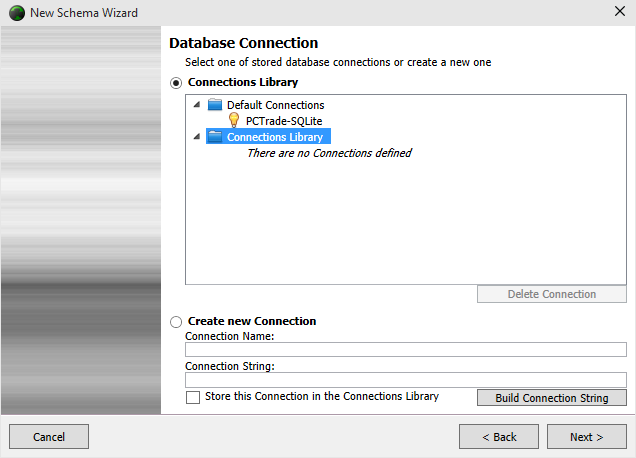
The next step is to choose the Connection you wish to use. If you already have some defined, they will be available in the Connections Library, otherwise select Create new Connection and then Build Connection String to step you through creating a Connection String.
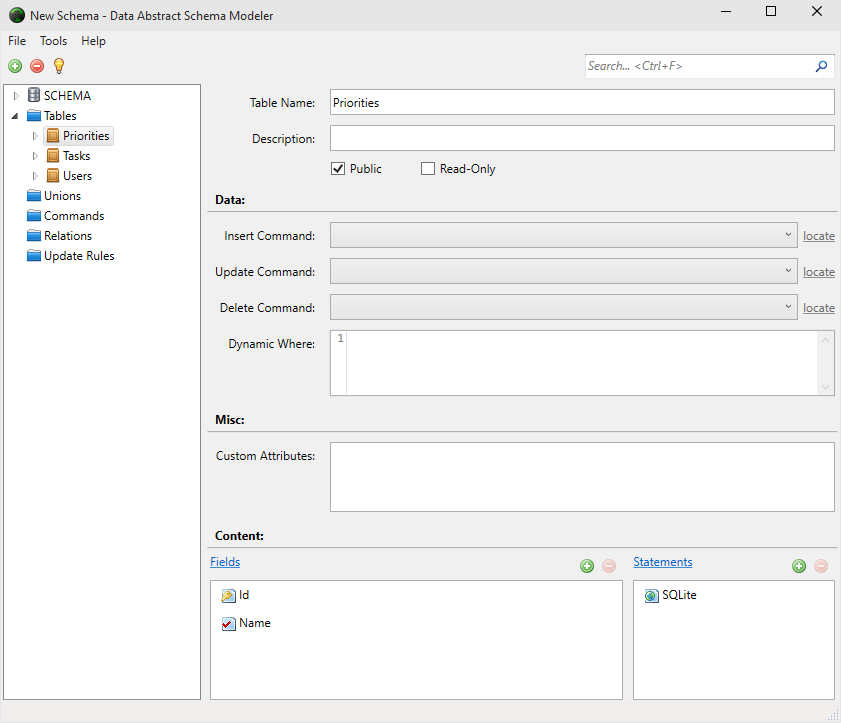
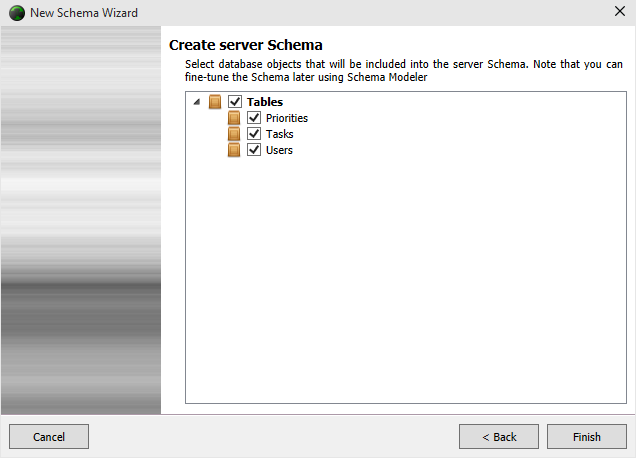
Your choice of connection defines what appears in Step 3 of the wizard. The database objects are loaded from the connection you specified, and displayed so you can choose which tables and other objects you wish to have in your Schema. You can fine tune this later to specify specific fields and so on. When you've chosen the ones you want then click on Finish.
The wizard then generates the schema for you based on your choices, and presents it too you. You can then edit the tables, unions, relationships to suit your needs. Remember to save your new Schema with File->Save As...