Schemas section
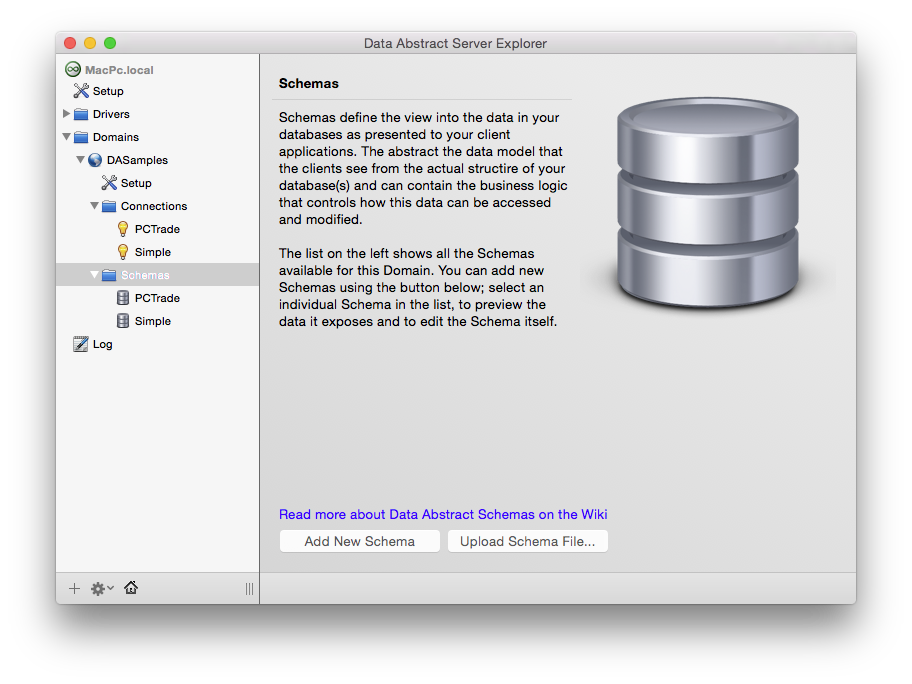
Each Domain in a server can have one or more Schemas which define how the data in the database is exposed to the client applications.
To add a new schema simply select the Add New Schema or Upload Schema File buttons.
- Add New Schema - Selecting this you will be asked to provide a name for the new schema and then press Add Schema which will add your new schema to the list on the left side.
- Upload Schema File - Clicking this opens a File dialog. Navigate to the folder containing the Schema file you are looking for (it has the extension .daSchema) and click Open. Note that if you import a schema with the same name as an existing one, the new one will be renamed with a number after it.
Note to delete a Schema you need to select the Schema and either press the keys ⌘+⌫ (CMD+Delete) or select the gear icon at the bottom of the left pane and click on Delete Schema.
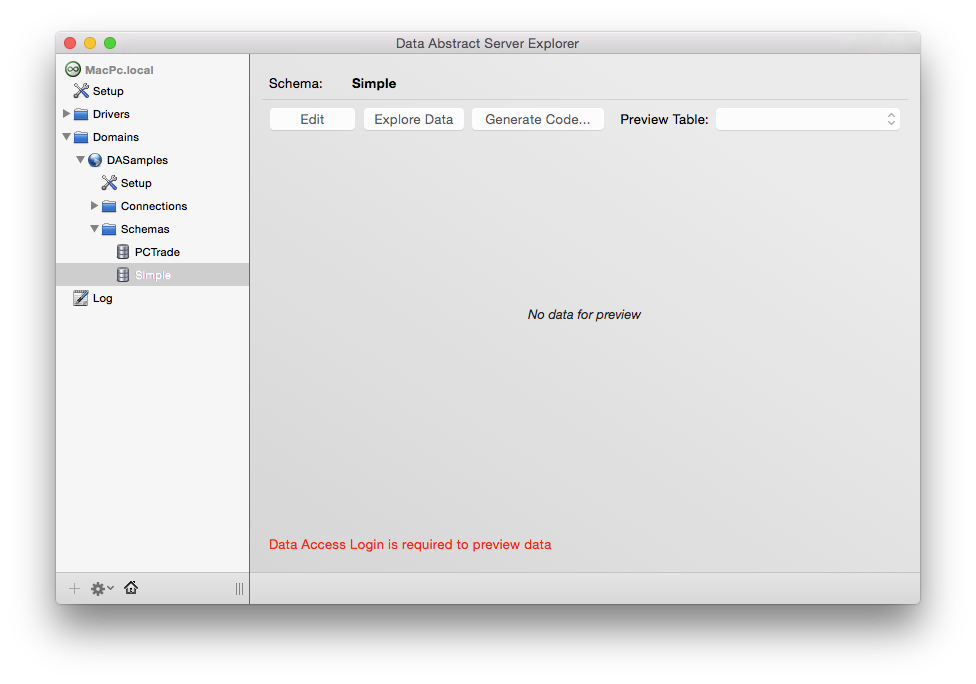
When you select a Schema you will be presented with a detail page (similar to the above) that can display a preview of data currently in the table. From here you can:
- Edit - Opens the selected schema in the Mac version of the Windows Schema Modeler tool. With it you can add Business Rules, setup field names and mappings to Database fields, add/update rules, unions and relationships. To learn more about how to use it, go to the Schema Modeler (Mac) documentation.
- Explore Data - Opens the SQL Data Browser which you can use to explore the data store on the server.
- Generate Code - You can use this feature to generate source code with strongly type definitions of the tables and fields in Objective-C, Swift, Oxygene and RemObjects C#.
- Preview Table - This dropdown allows you to choose which table the preview data will be drawn from.