Schema Section
Each Domain in a server can have one or more Schemas which define how the data in the database is exposed to the client applications. When you expanded the Domain tree node in the left hand panel, it exposed all the schemas that are currently available for that domain.
To add a new schema click on the Add new Schema from the left hand panel, and then click on the Add new Schema button that appears in the right hand panel. A faster alternative is to double click on the Add new Schema in the left hand panel.
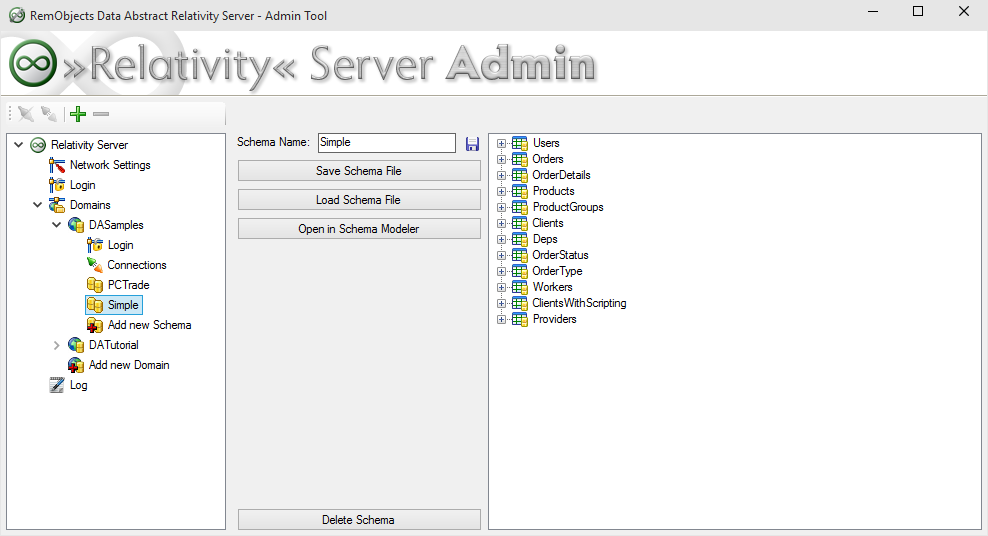
After you have selected a Schema* from the left hand panel you will see that the right hand panel will update to display information about the tables in the Schema (far right of the above figure) including the fields & their types, as well as provide some basic operations with that schema.
The first allows you to quickly change the name of the Schema. Simply edit the text in the textfield beside Schema Name and then click on the Floppy Disk icon beside the textfield to save the name change.
To delete a Schema click on the Delete Schema button that appears at the bottom of right hand panel. Note that once it is deleted you will not be able to recover it.
Save Schema File clicking this will save the current schema definition to a file you specify on disk, with a .daSchema extension. This can then be used to import that schema into another instance of Relativity or as a backup.
Load Schema File opens a .daSchema file that you specify replacing the current definition of the selected schema. Note that there is no way to undo this.
Clicking on Open in Schema Modeler will open the currently selected schema in the Schema Modeler tool in which you can define & edit how the schema maps to the underlying database.