Schemas
Each domain (Data Abstract Application) within Relativity Server has at least one Schema.
The role of the schema is to define how your client application sees your data. The schema defines all the information the Relativity Server needs to do the mapping between the view you wish your client application to have of the data and what the data actually looks like in the database.
A schema is an XML-based file that defines the data tables used by the application in a structured and well-defined manner. The schema abstracts the actual back-end database and all the details associated with it.
Because all data access is defined in the schema and automatically provided by the Relativity Server at runtime, a middle tier literally needs no custom code, leaving you to concentrate on implementing business rules and your client application instead of investing time in writing data access plumbing.
One of the nice side-effects of Relativity Server's approach of using schemas is that the business logic code is automatically database agnostic and not tied to a specific database system or structure. Your applications can be adapted to target different back-end databases without any code changes and minimal or no changes to the schemas involved.
Configuring the Schema
First you need to create a new schema and call it Tasks. Select the Schemas folder in the source list under the DATutorial folder and press the Add New Schema button in the display pane. Enter the schema name Tasks and press the Add Schema button.

Now select the Tasks schema in the source list and press the Edit Schema button in the display pane to open your new schema in Schema Modeler.
Schema Modeler
Data Abstract provides an application called Schema Modeler to let you define the schema for your application visually.
Unsurprisingly, it will be empty right now. A Connections document should also have been opened, showing the data your domain is currently pointing to, (your SQLite database).
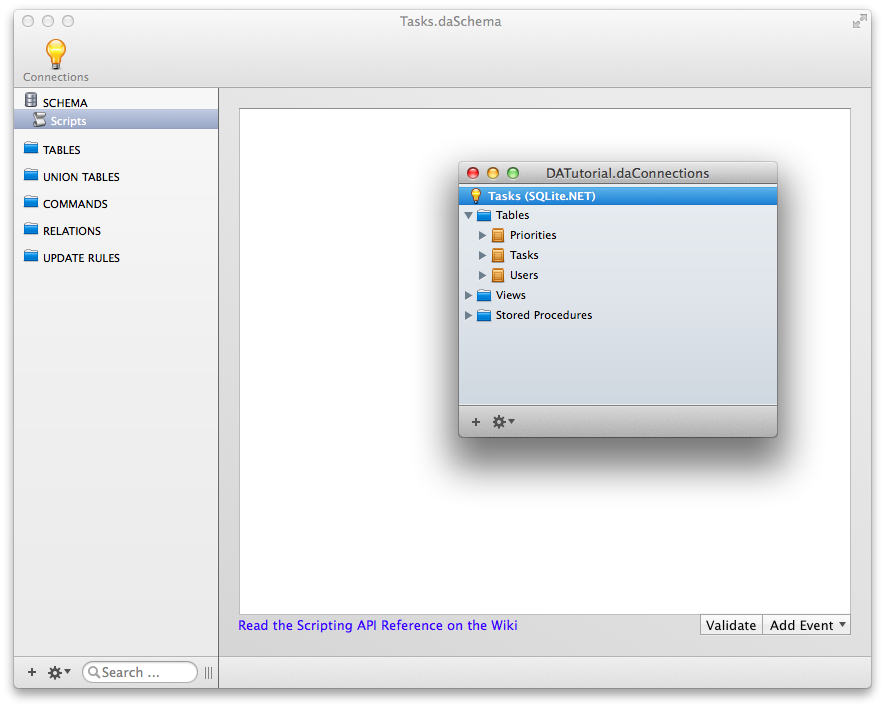
Now you need to import the database tables from the connection document into your new schema. Select the three tables in the Connection document, drag them to the Schema Modeler window Tables node in the source list and drop them there.
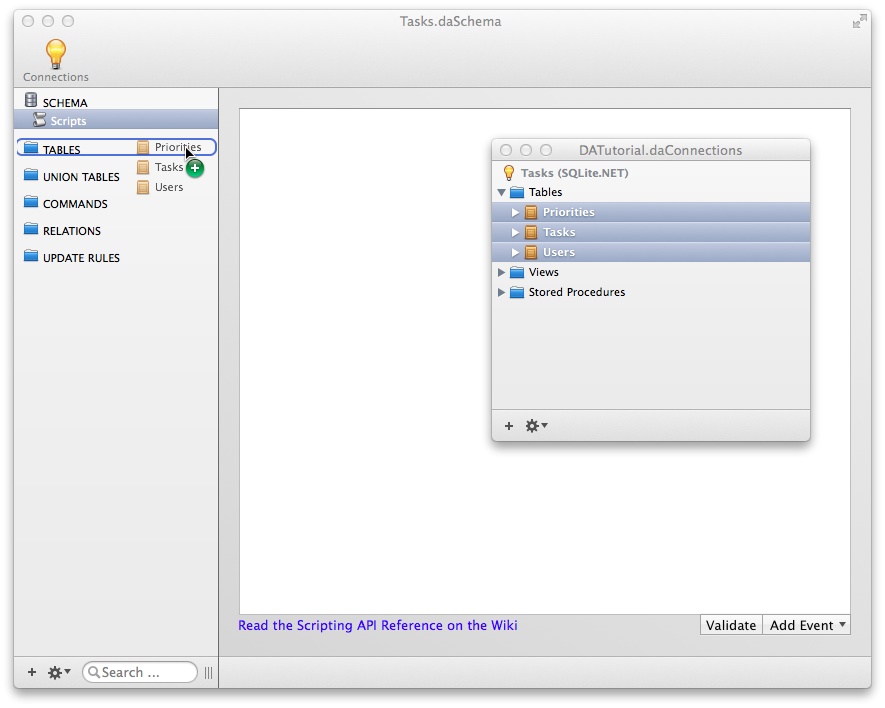
Remember: A schema determines what data a client application can see from the database. By default the schema is empty, so the client application would not be able to see any data. By adding the three tables from your database to the schema, they become available to any client application that connects to this domain through this schema. You will add some extra security and rules to that access later on.
Take a look at the tables you have just imported and get a feel for what can be set up in Schema Modeler.
Defining Key Fields
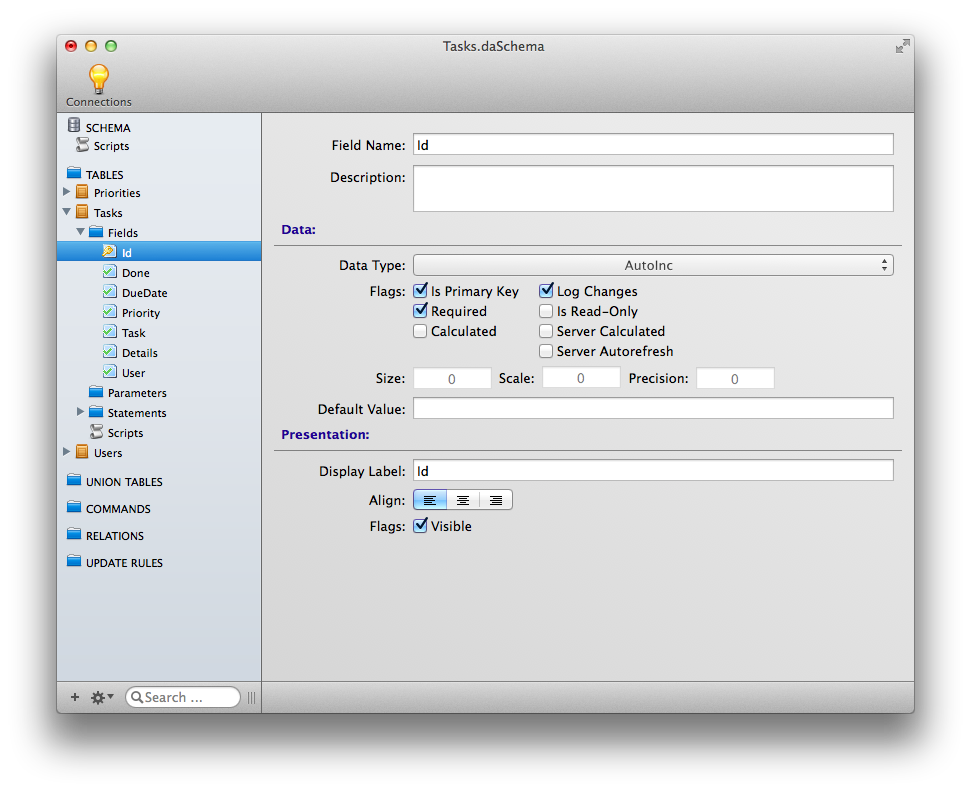
Unfortunately, due to a bug in mono, the managed driver for SQLite cannot define key fields when running on a Mac, so you are going to need to set the data type as auto increment for the id column in all three tables.
One at a time, select each table in the Schema Modeler window and expand the fields folder. Select the id field and change the field data type in the display pane to AutoInc