Client for Relativity Server
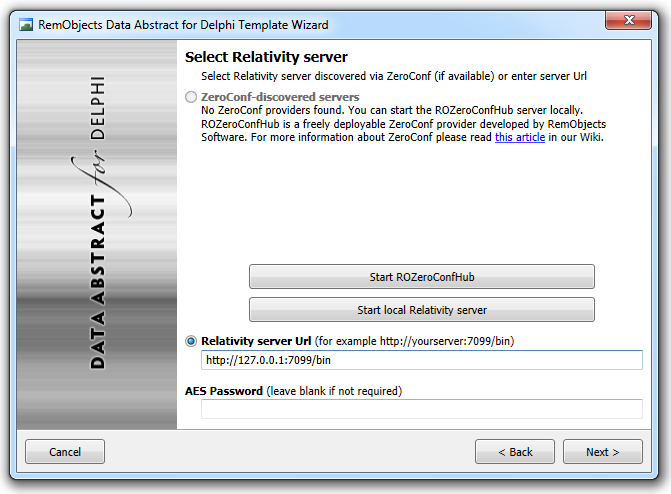
After choosing Relativity Server as the back-end for your Delphi project, the next step is to select the server you wish to connect to.
If you are using Bonjour or ROZeroConf and the Relativity Server is running on your computer or elsewhere on the local network, it should be detected automatically, and can be selected from the list in the top half of the dialog. Alternatively, you can specify the full address to your remote (or local) Relativity Server, at the bottom. Relativity Server usually runs on port 7099, and the default address will end on /bin:
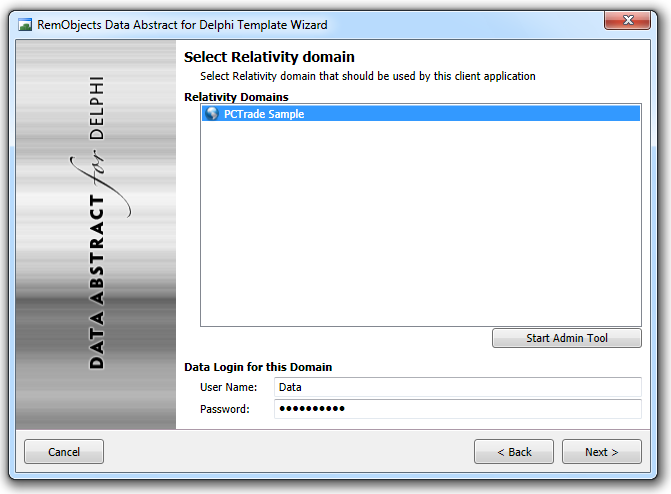
Once you picked a server and connected, you can choose the Domain you want to access. If your domain is not set up yet, you can also launch the admin tool to set one up.
By default, all Relativity Server installs come with a pre-configured sample domain containing our Data Abstract Samples that you can use if you want to try out Data Abstract for Delphi against sample data.
To fully get access to the domain, you will also need to provide the Data Login for the domain. The pre-configured DASamples domain validates data logins against its sample Users table, so you can log in as any of the included sample users - for example the username mollieb@pctrade.com with the password 111.
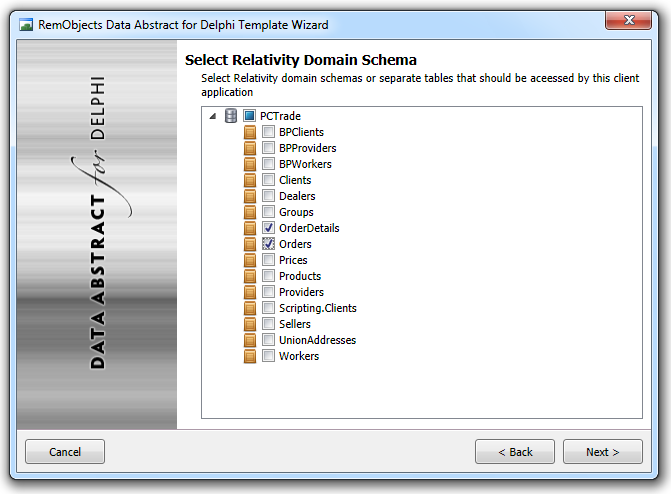
Next, the project wizard will show you a list of all tables exposed by the domain selected before, grouped by schema. You can select which tables you plan to access to have the wizard automatically generate the proper code stubs for the tables in question.
Don't worry: you can always add access to more tables later on; there is also no harm in simply selecting all tables from the start, even if you don't need them yet.
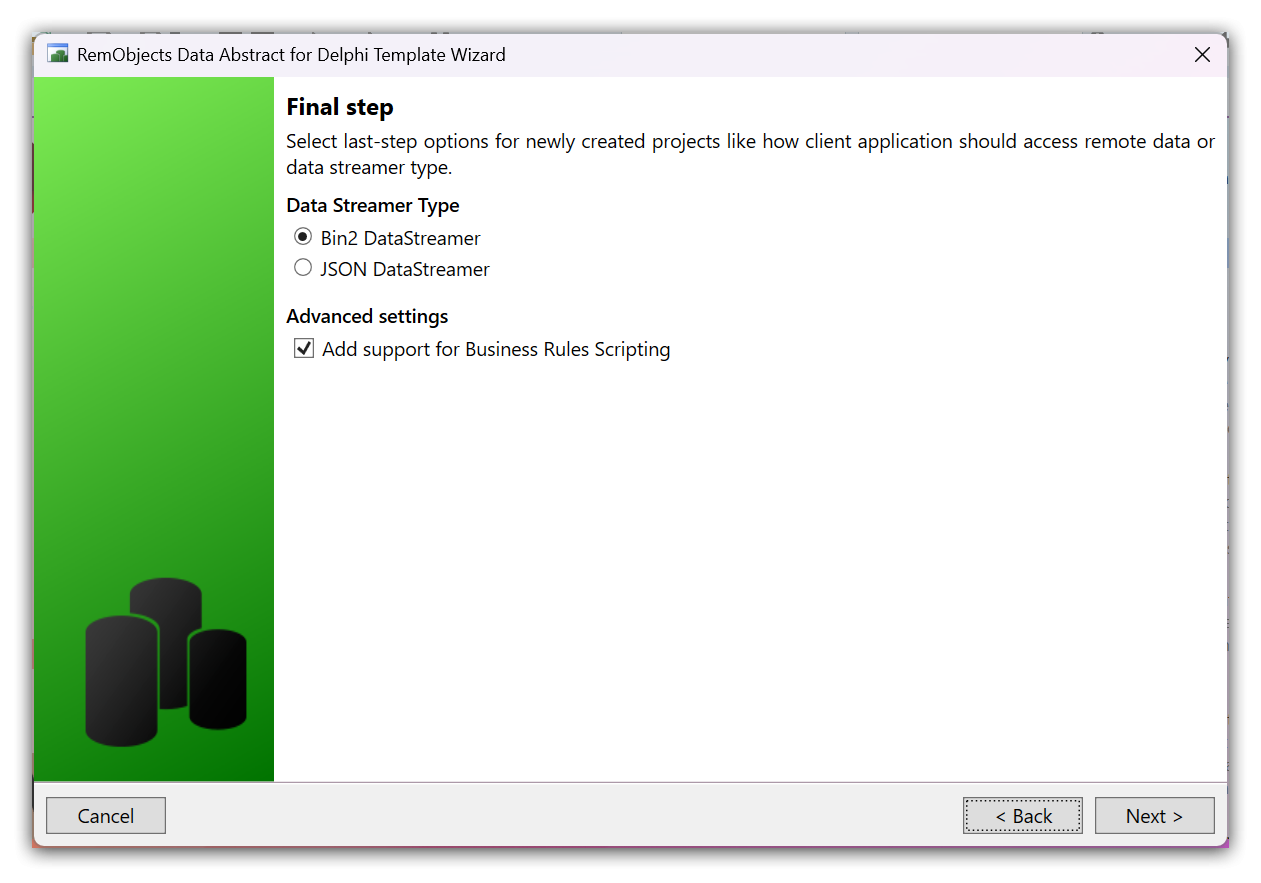
As the last step, you can choose between some options for the generated client project.
Data Streamers define how data is encoded for transfer between your client and the server. The choice you make here needs to reflect what is exposed by the server.
You can also enable support for running Business Rules Scripting on the client side, where available, allowing your client application to do local data validating and provide information on invalid data without additional server roundtrips assuming such business rules are defined on the server.
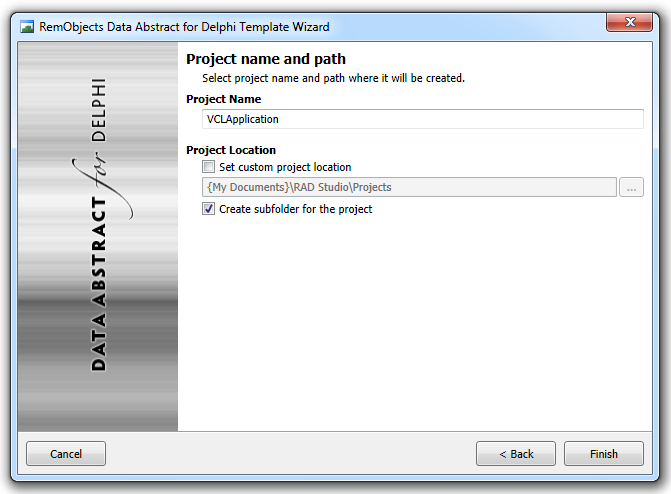
On the final page, you can provide a name and destination folder for your project:
Finish
Click Finish, and you are done; the wizard will create your project(s) and open them in the IDE, ready to build and run.
You may want to continue reading about The Client Project generated by the Data Abstract New Project Wizard.