Client and a New Custom DA Server
The wizard steps for creating either a client with a new custom server project or creating a Two-Tier Client/Server application (which really just combines Client and Middle tier in one project, while keeping them conceptually separated) are identical.
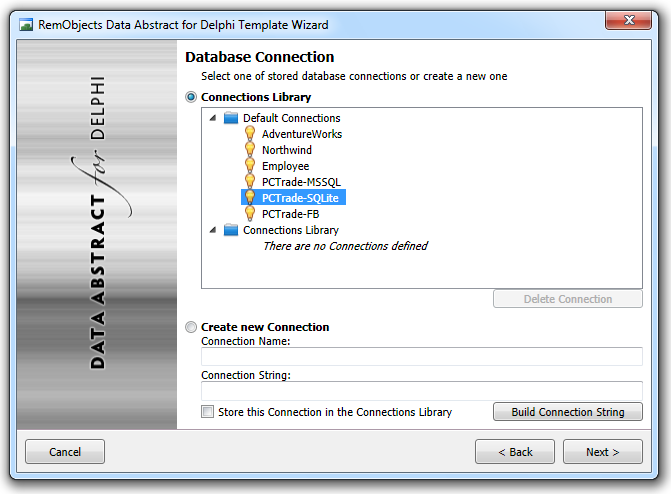
The first step after choosing this option is to point the wizard to the back-end database that the application will connect to. There are two ways for doing this:
-
You can select a predefined connection from the list at the top; this list includes connections to databases provided out of the box by Data Abstract and common database servers (such as our PCTrade Sample Database, Microsoft SQL Server's Adventureworks or Interbase's EMPLOYEE database) as well as any custom connections you might have defined earlier.
-
You can specify a new connection string, either by typing or pasting in the complete string or using the "Build Connection String" dialog.
If you specify a new connection via option two, you also need to pick a name for this connection, and you can optionally add it to the Connection Library for later reuse - this is useful if you have certain databases that you will connect to again and again.
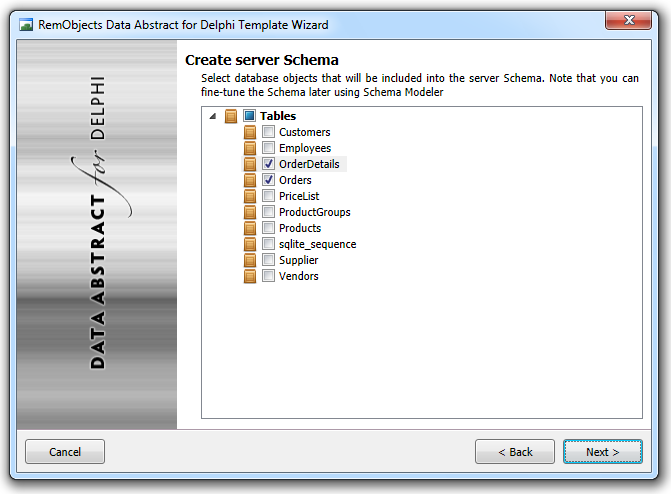
Next, the project wizard will show you a list of all tables (and, if available, views and stored procedures) found in the database connected to. You can select which tables you plan to work with, and the wizard will automatically (a) add them to the schema it creates for the middle tier later and (b) generate the proper code stubs for the tables in question, in the client layer.
Don't worry: you can always add access to more tables later on; there is also no harm in simply selecting all tables from the start, even if you don't need them yet.
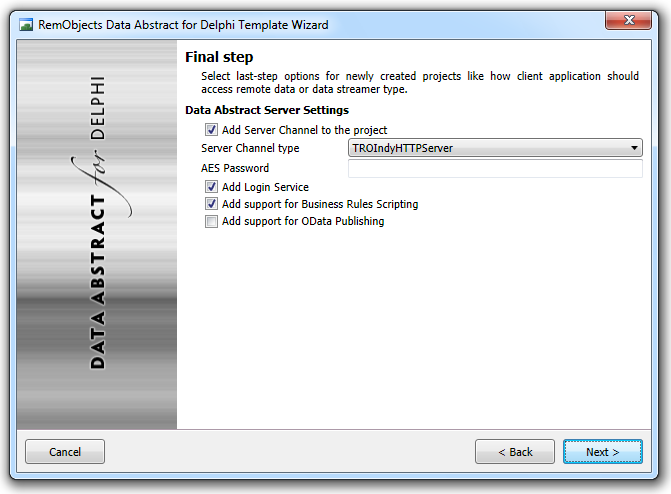
As the last step, you can choose between some options for the generated client and server projects (or combined client/server project).
Note: Depending on the project type and development platform, some options might not be available.
-
You can choose a client and server channel type to determine how your client and server will communicate.
-
You can configure your server project to require login (highly recommended).
-
You can enable OData Publishing support and Business Rules Scripting support for both the client and the server tier (where available).
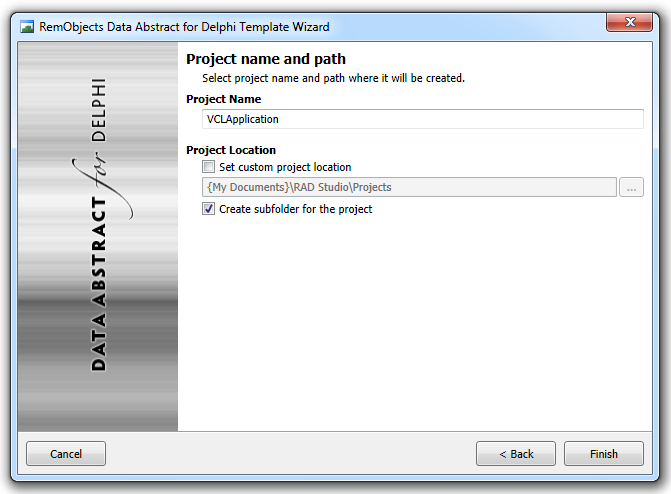
On the final page, you can provide a name and destination folder for your project:
Finish
Click Finish, and you are done; the wizard will create your project(s) and open them in the IDE, ready to build and run.
You may want to continue reading about The Client Project and The Server Project generated by the Data Abstract New Project Wizard.