The Application Wizard
When you installed Data Abstract for Delphi, it added a number of new project templates.
To create a new Data Abstract project, begin by starting Delphi and creating a new project using the VCL Application template from the RemObjects Data Abstract folder.
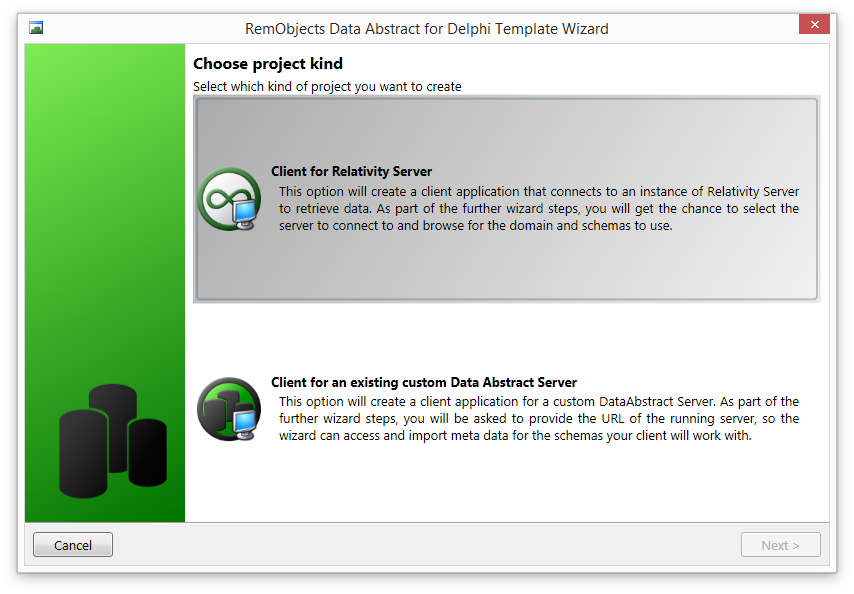
Client Type
The first step in the project wizard is to choose whether this project will connect to Relativity Server or to a custom Data Abstract Server. (Custom Delphi Data Abstract Servers can be created by using the Enterprise Edition of Data Abstract.)
Select Client for Relativity Server.
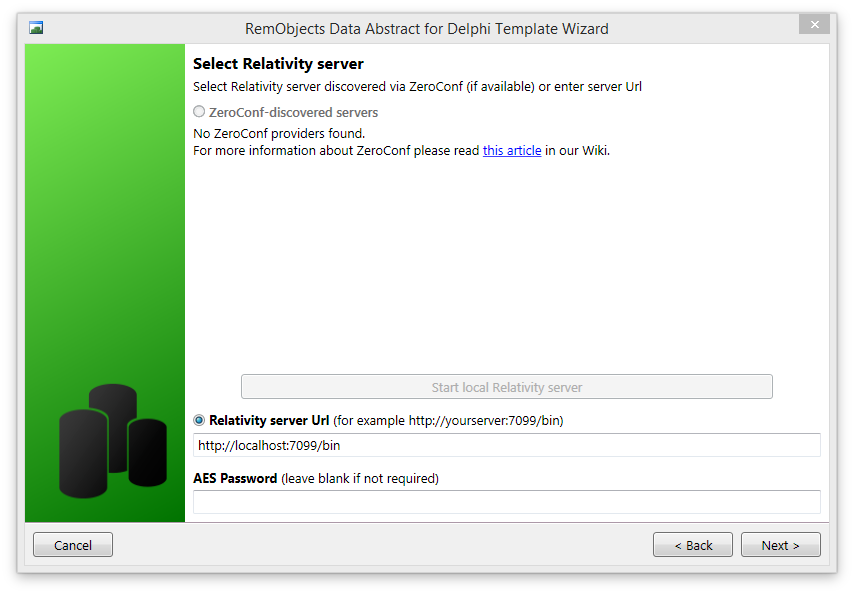
Relativity Server Connection
In the next dialog, you need to pick which instance of the Relativity Server you wish to connect to. When developing, you customarily connect to a local running copy of the Relativity Server. If you select the Relativity Server URL radio button, you can enter the address of the local development instance of the Relativity Server, which by default will be http://localhost:7099/bin.
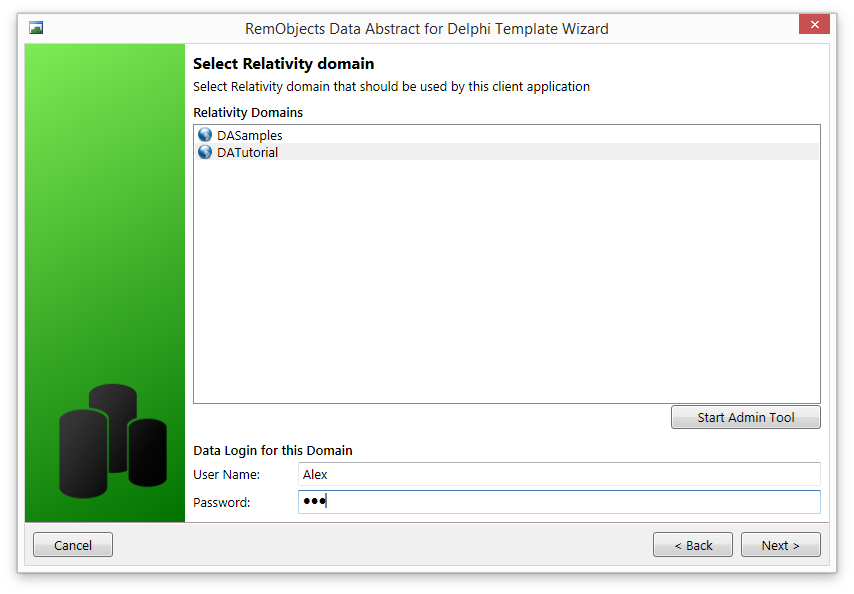
Selecting a Domain
In the next step, select the DATutorial domain.
You will need to provide a data login. As you set the domain to provide access via the Users table, you need to enter a username and password that exists in that table. You hopefully remember that the database was seeded with two users to start with, so use Alex/111 as the data login credentials.
NOTE: The login credentials you provide here allow the wizard to connect to the Relativity Server to collect the schema information. these credentials will, however, also be stored in some of the code the wizard generates, which is not secure, so they will need to be removed later.
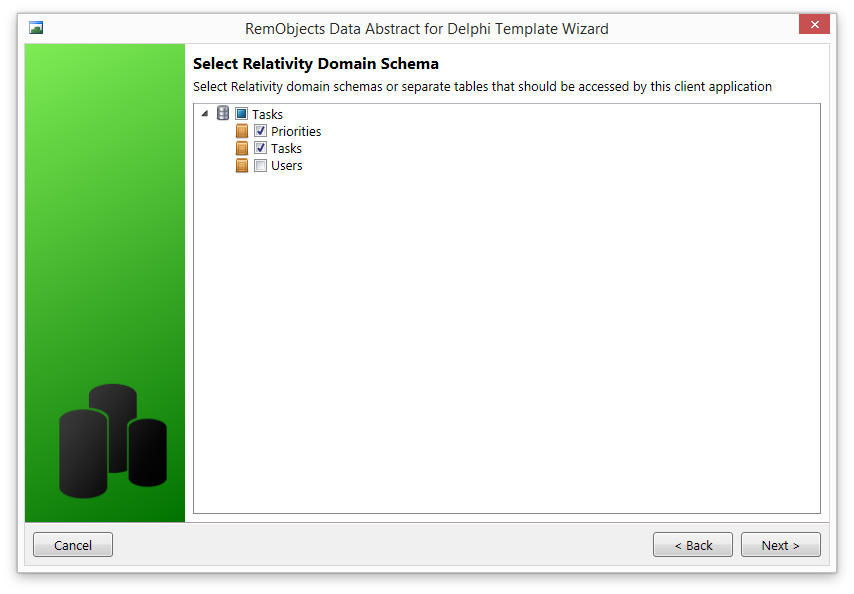
Selecting Tables
The schema defines which tables the Data Abstract client application can have access to, but your application may not require all of those tables. In the next step, you’ll select the tables your application will require. In this case, it requires the Priorities table and the Tasks table.
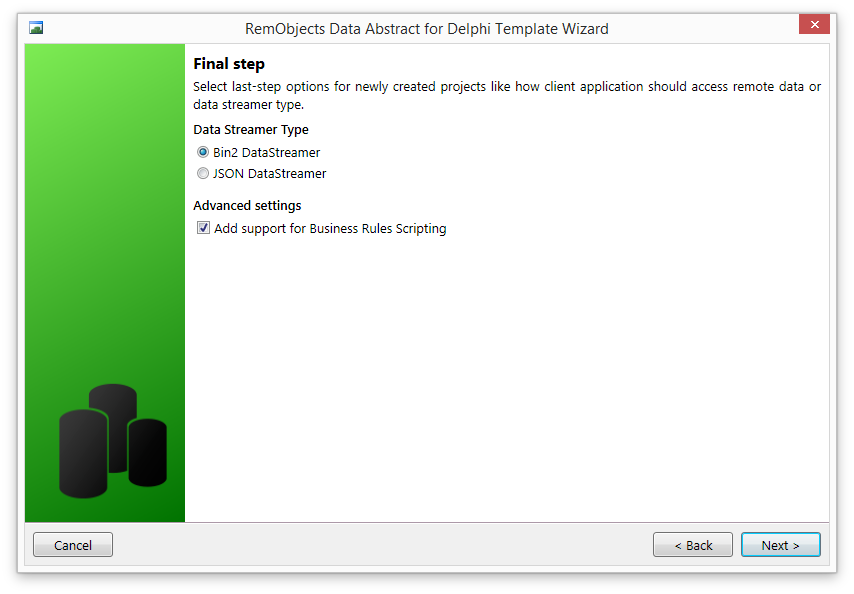
Final Step
In the final step you will define how your application transmits the data between the Relativity Server and the client (Binary or JSON) and whether you want to be able to add scripted business rules to your application.
You should select Bin2 DataStreamer for the streamer type and make sure the Add support for Business Rules Scripting checkbox is checked.
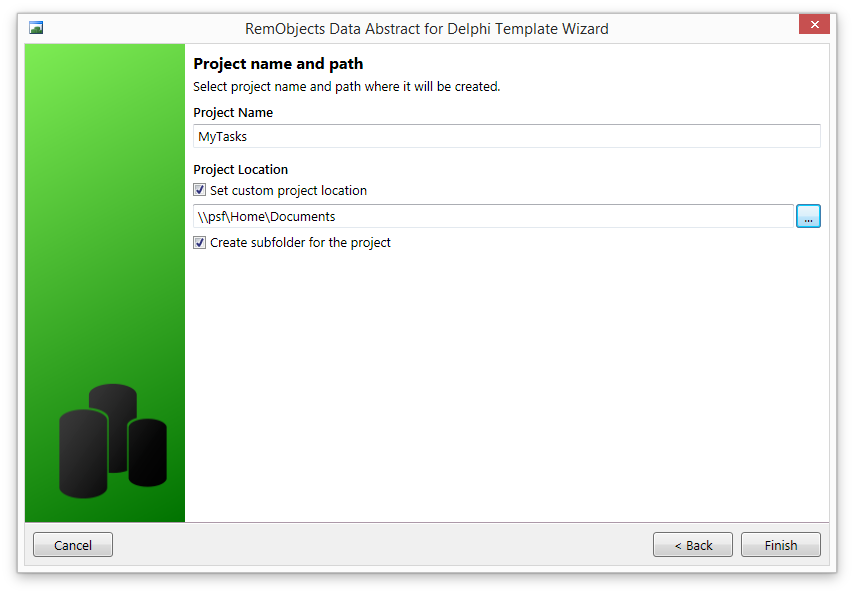
Specify the project name and location and finish the Project Wizard.
