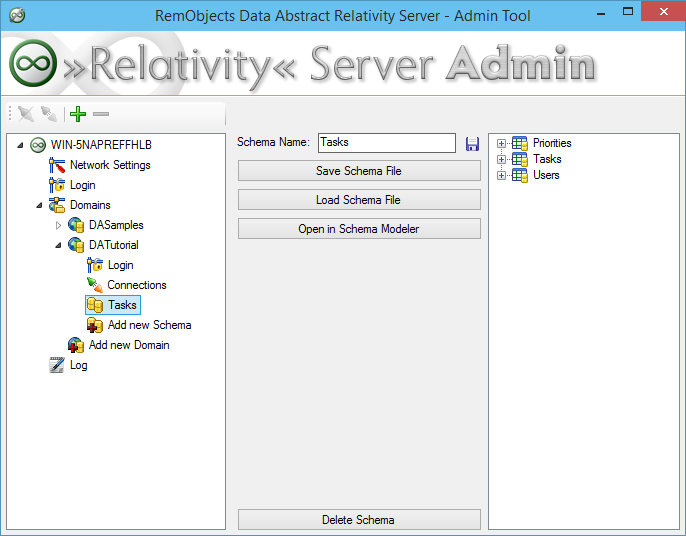
Defining the Schema
Now you need to import the database tables from the connection into your new schema. In the Connection Manager, expand the Tasks (SQLite.NET) connection to see the three tables it exposes: Priorities, Tasks and Users.
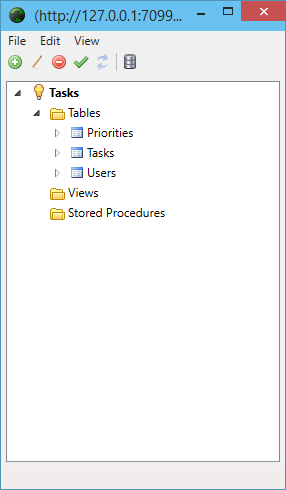
Add each of these tables to the schema. For every table, repeat the following steps in the Schema Modeler:
- Select the Tables node and press the + (Add) button to add a new table, then set its Table Name to match the database table (for example Priorities).
- Select the new table's Statements node and press Add New Statement.
- In the statement editor, set the Connection to Tasks (SQLite.NET), choose the matching Target Table and leave the Statement Type as AutoSQL.
- Press Recreate Fields to populate the field mappings from the database table.
Repeat for all three tables (Priorities, Tasks and Users).
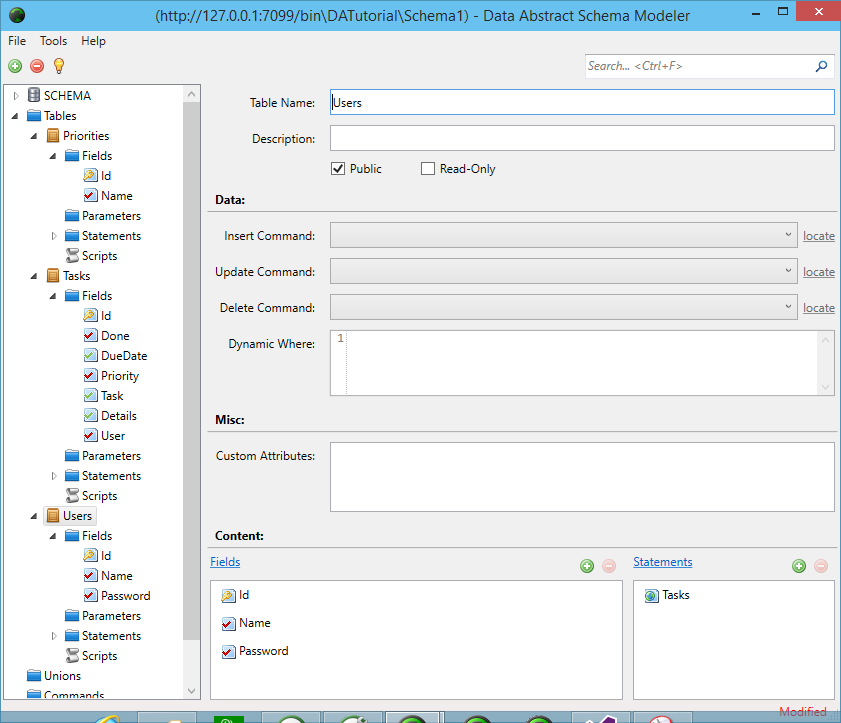
Remember, a schema determines what data a client application can see from the database. By default, the schema is empty, so the client application will not be able to see any data. By adding the three tables from your database to the schema, they become available to any client application that connects to this domain through this schema. You will add some extra security and rules to that access later on.
Take a look at the tables that you have just imported and get a feel for what can be set up in Schema Modeler.
At this point, both the database connection and the Domain Schema are defined. Close the Schema Modeler so that the updated definitions will be uploaded to the Relativity Server.