Data Abstract Server on Windows Azure
This article is a follow-up on Remoting SDK Server on Windows Azure, showing you how to create a simple Data Abstract-powered server application for Windows Azure. For this article, I’ll assume that you’ve read the above mentioned article, so there will be no need to explain some Azure points described before in detail.
To make a DA server working in Azure Cloud, we need to create a Worker Role for it. Let’s create a new Azure project:
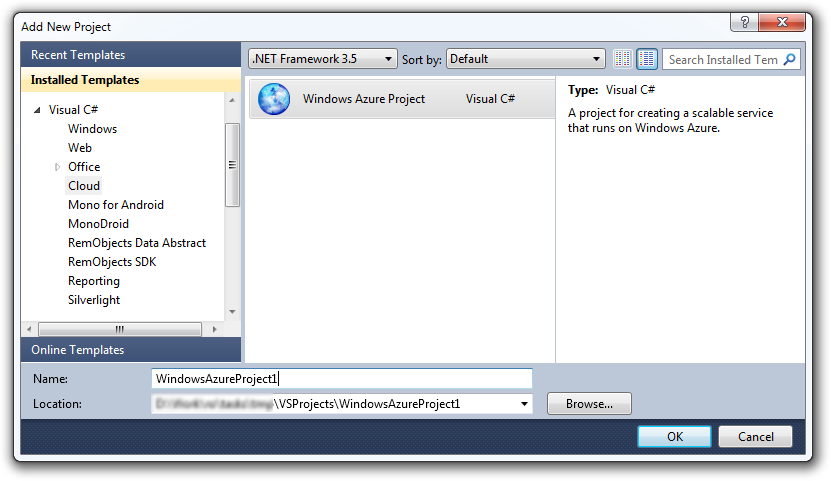
and add this role:
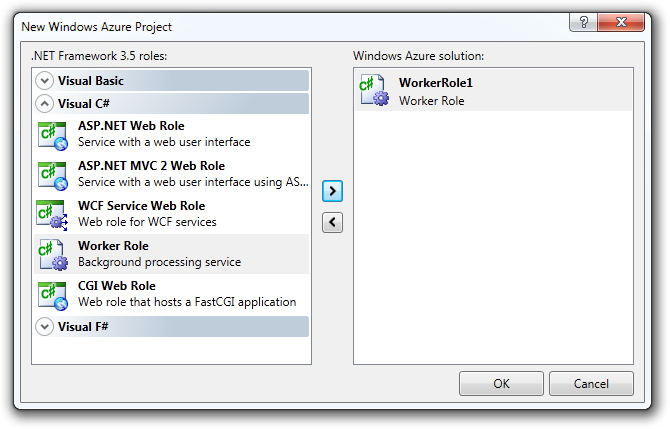
In the wizard, select only one Worker Role and press OK. The wizard will generate a Windows Azure project with two settings files (ServiceDefinition.csdef and ServiceConfiguration.cscfg) and the other WorkerRole1 project.
Now we need to implement the DA server logic into the Worker Role project. In the previous post, we have done this by referencing the existing SDK Console Server with the Worker Role. This time, we'll try another way: we create a new DA server project and copy its code to the Worker Role. The server class library project will be enough to start with:
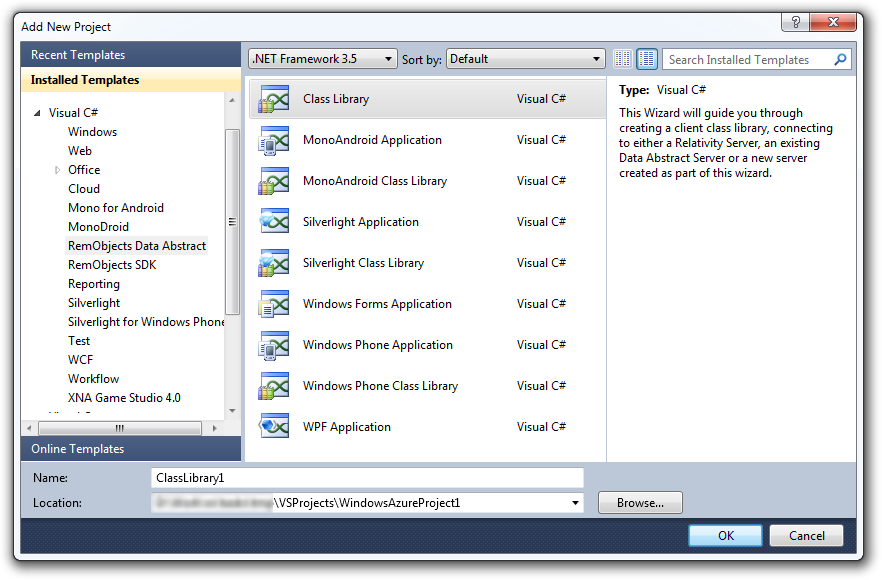
In the DA Template Wizard, choose the Client and New Custom Data Abstract server option and go to the next page. Here we need to specify the database connection (in fact, it will be a connection to SQL Azure). We can use the MSSQL.NET driver to work with it: Click Build Connection String and fill the available fields with your SQL Azure account data:
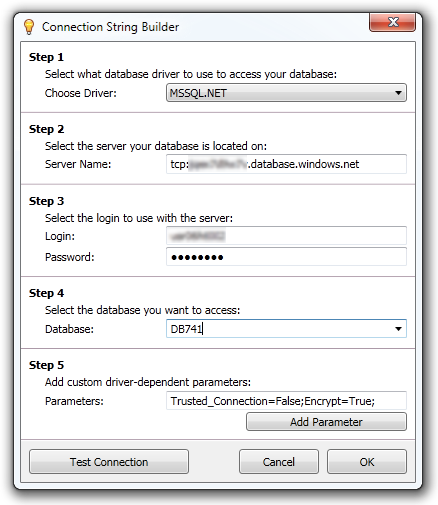
After building the connection string, follow the wizard instructions. Leave all options on default, but enable OData Publishing (this will make the final testing easier). Press Finish and the wizard will generate server and client class library projects. You can safely remove the last one as we don’t need it.
Now, go to the created project and copy the following files to the WorkerRole1 project (easy to do with VS Solution Explorer):
- Properties\licences.licx
- ClassLibrary1.daConnections
- ClassLibrary1.RODL
- ClassLibrary1_Intf.cs
- ClassLibrary1_Invk.cs
- ClassLibrary1Dataset.daSchema
- DataService_Impl.cs
- DataService_Impl.resx
- Engine.cs
- Engine.resx
- Engine.Designer.cs
- LoginService_Impl.cs
- LoginService_Impl.resx
Then add references to the following libraries:
- RemObjects.SDK
- RemObjects.SDK.Server
- RemObjects.SDK.ZLib
- RemObjects.DataAbstract
- RemObjects.DataAbstract.Server
If you leave Business Rules Scripting support enabled in the wizard, then also add references to:
RemObjects.DataAbstract.Scripting and RemObjects.Script.
Please Note It’s important that you set the CopyLocal property to true for all libraries listed above, as your Azure Hosted Environment doesn’t have DataAbstract libraries in GAC.
At this point, the WorkerRole1 project build should be successful.
Now, we should modify WorkerRole.cs to add Start/Stop server logic:
- Add
using ClassLibrary1; - Add a private field for the engine:
private Engine fEngine;
- Modify the OnStart method by:
public override bool OnStart()
{
    // Set the maximum number of concurrent connections
    ServicePointManager.DefaultConnectionLimit = 12;

    int port = RoleEnvironment.CurrentRoleInstance.InstanceEndpoints["DaEndpoint"].IPEndpoint.Port;

    fEngine = new Engine();
    fEngine.serverChannel.Port = port;
    fEngine.Start();
    Trace.WriteLine("DA Server is activated on internal port " + port, "Information");

    return base.OnStart();
}
- Add the OnStop method:
public override void OnStop()
{
    fEngine.Stop();
    base.OnStop();
}
- Open the Engine component in the designer and change the
serverChannelModifiers property to public.
The last thing we should do is add an Endpoint to our server. Double click on WorkerRole1 in the Azure project and add the input endpoint of input type for port 8099 (our default port).

That should be all, we can now build and Publish our project to the Azure host.
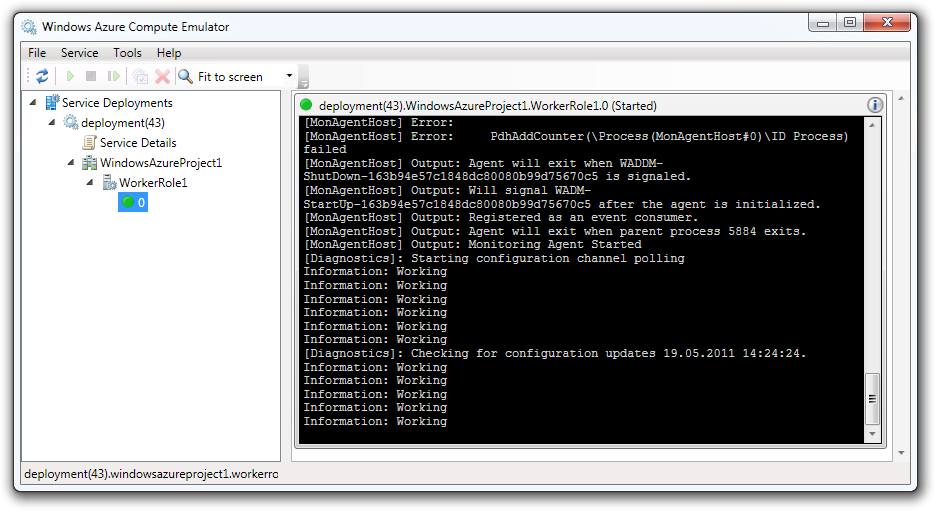
If you are using a local Compute Emulator, you will see the window below in your Compute Emulator UI, that tells us our role is working.
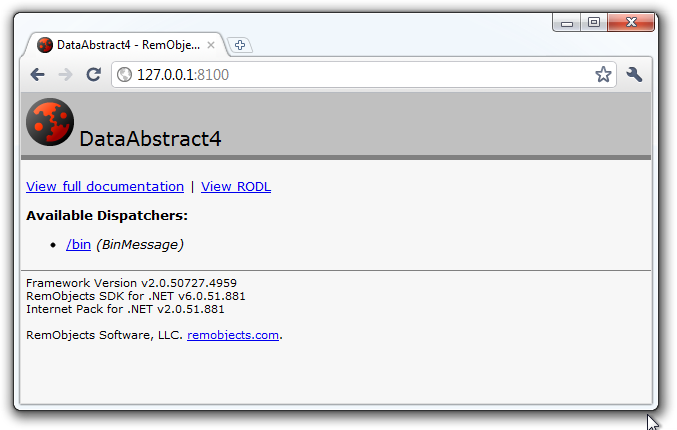
In the Compute Emulator, also check the Service Details tab. The IP Adress column will contain an address with a local port that is provided to the WorkerRole1 instance on localhost. If you follow this URL in your browser, you should see the server main page:
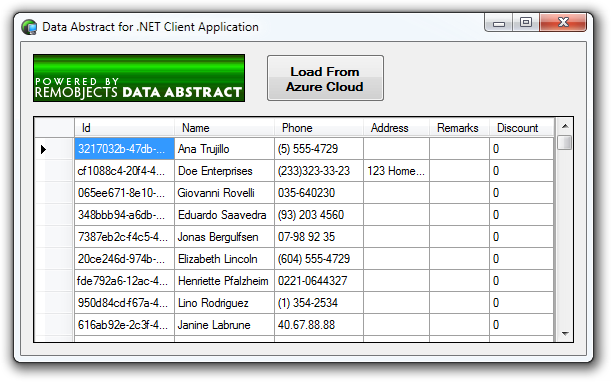
The server is now working and you can access the data via OData (for this, please adjust the ODataDispatcher RootUrl in the engine component) or write any client for this server.
P.S. You can now remove the (useless) ClassLibrary1Server project.