Data Abstract New Project Wizard
Data Abstract for Cocoa comes with Xcode project templates to help get you started when producing client applications for Data Abstract. They provide a lot of common infrastructure and “plumbing” code that is common for client applications on both iOS and Mac OS X.
This article will walk you through the steps needed to create a project. As you'll see, the steps to get going are identical between iOS and Mac OS X projects
Please note that the steps shown here are from using Xcode 6, however the steps are the same in other versions of Xcode.
Creating a Project
The first step is to open Xcode and then select File->New->Project which will open the project dialog from where you can choose a template for creating your OS X or iOS project.
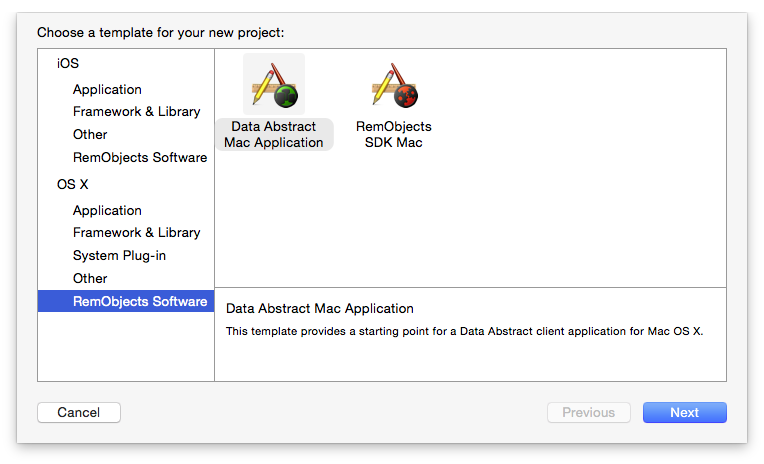
As you can see in the figure, after installing Data Abstract for Cocoa there is now a RemObjects Software category available in the new project dialog. This is where you while find the templates for creating clients for both Data Abstract and Remoting SDK
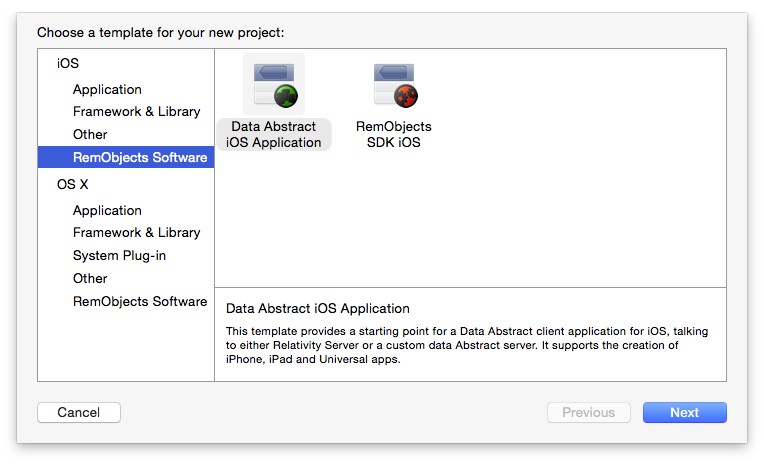
In the left-hand pane of the dialog, click on the RemObjects Software section in either the "iOS" or "OS X" sections and then choose the template for the "Data Abstract" application. Finally press Next to begin choosing the options for your project.
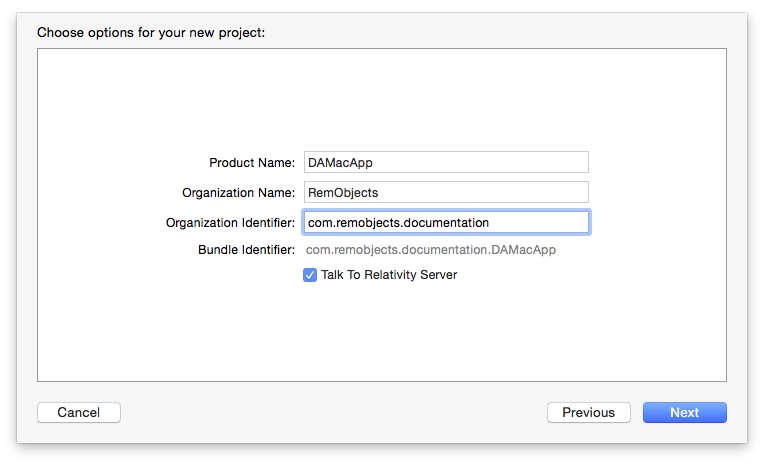
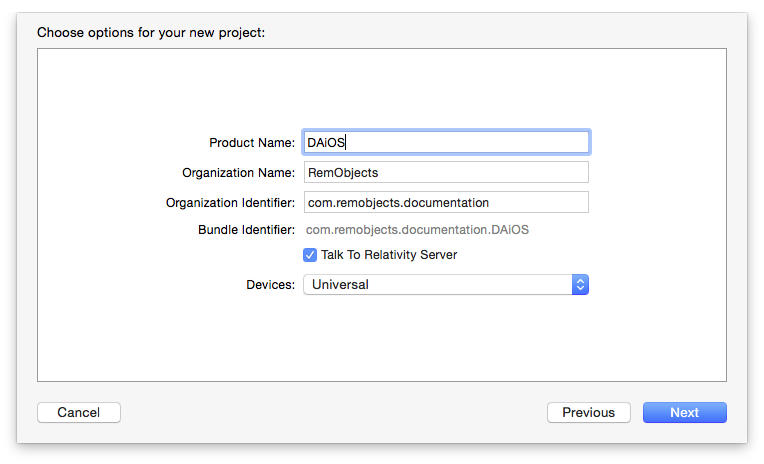
Fill in the standard Product Name, Organization Name and Organization Identifier as is applicable for you / your company. If you are using the iOS template, then you can choose the device type is best suited for your project; be it iPhone, iPad or a Universal application.
The "Talk To Relativity Server" is however specific to Data Abstract for Cocoa and is used to determine if the project created is configured to talk to an instance of Relativity Server or, when the checkbox is unchecked, if it is configured to talk to a custom Data Abstract server.
When you have finished filling the dialog in press Next
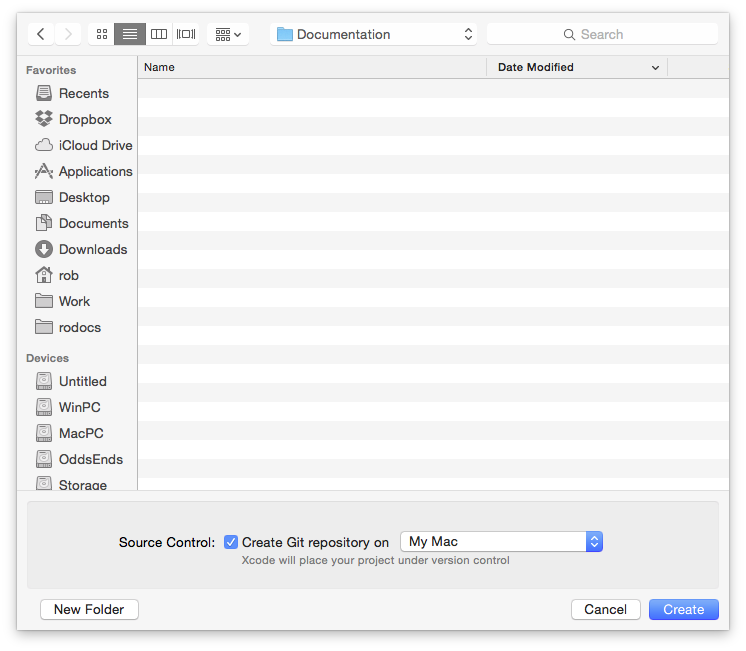
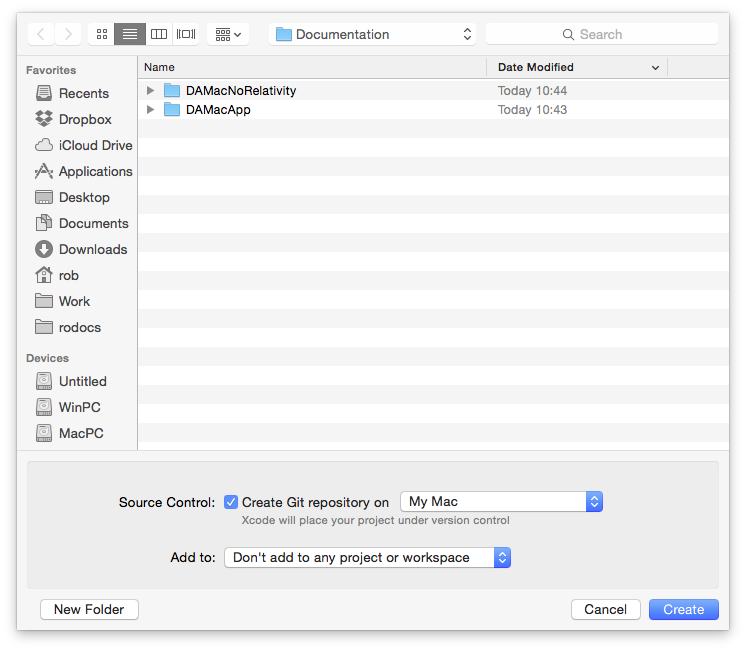
The next step is choose the location where you will save your project, and optionally choose to create a Git repository for your project. Navigate to your folder of choice and click Create, which will then create your project.
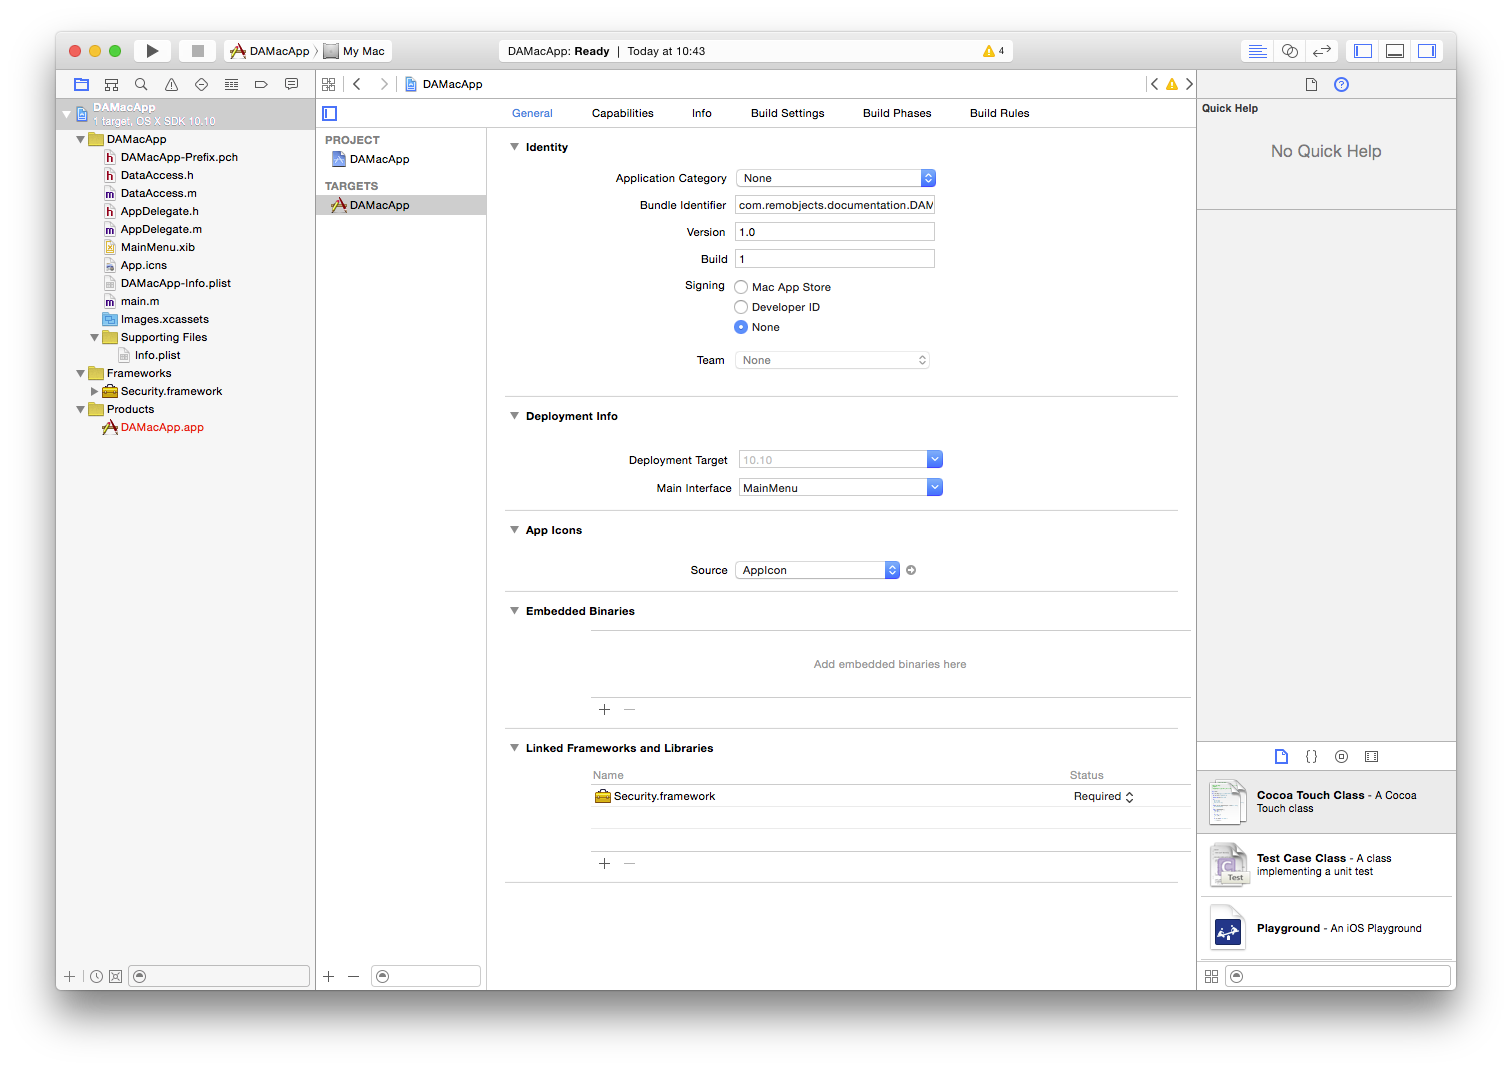
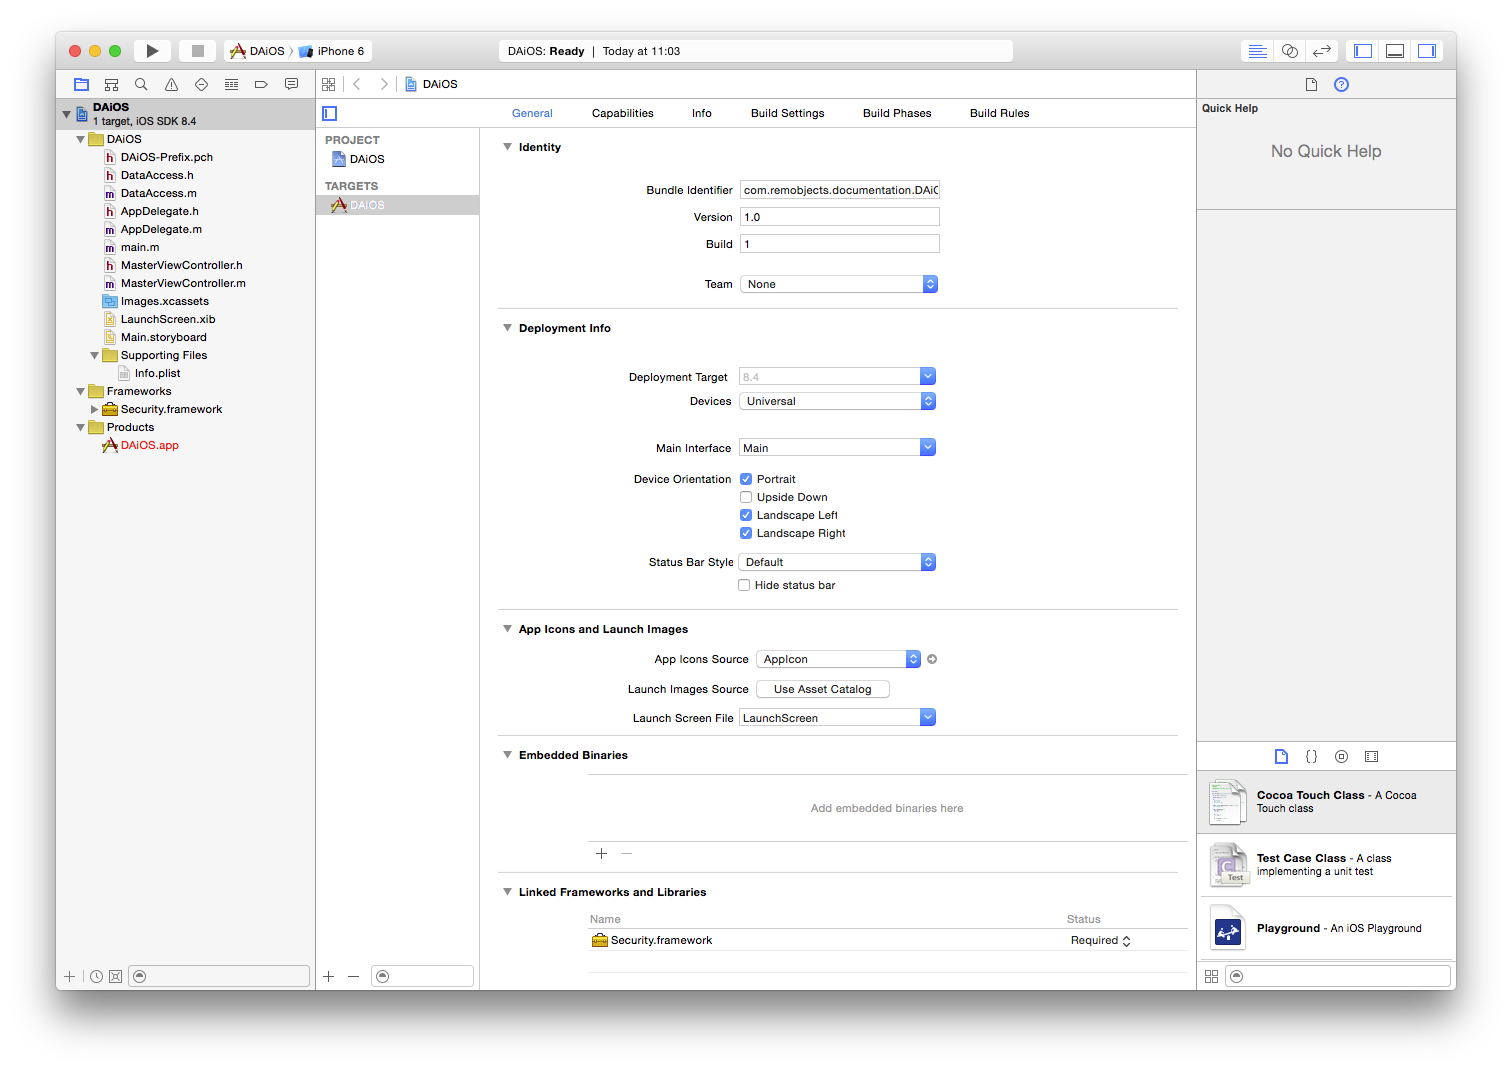
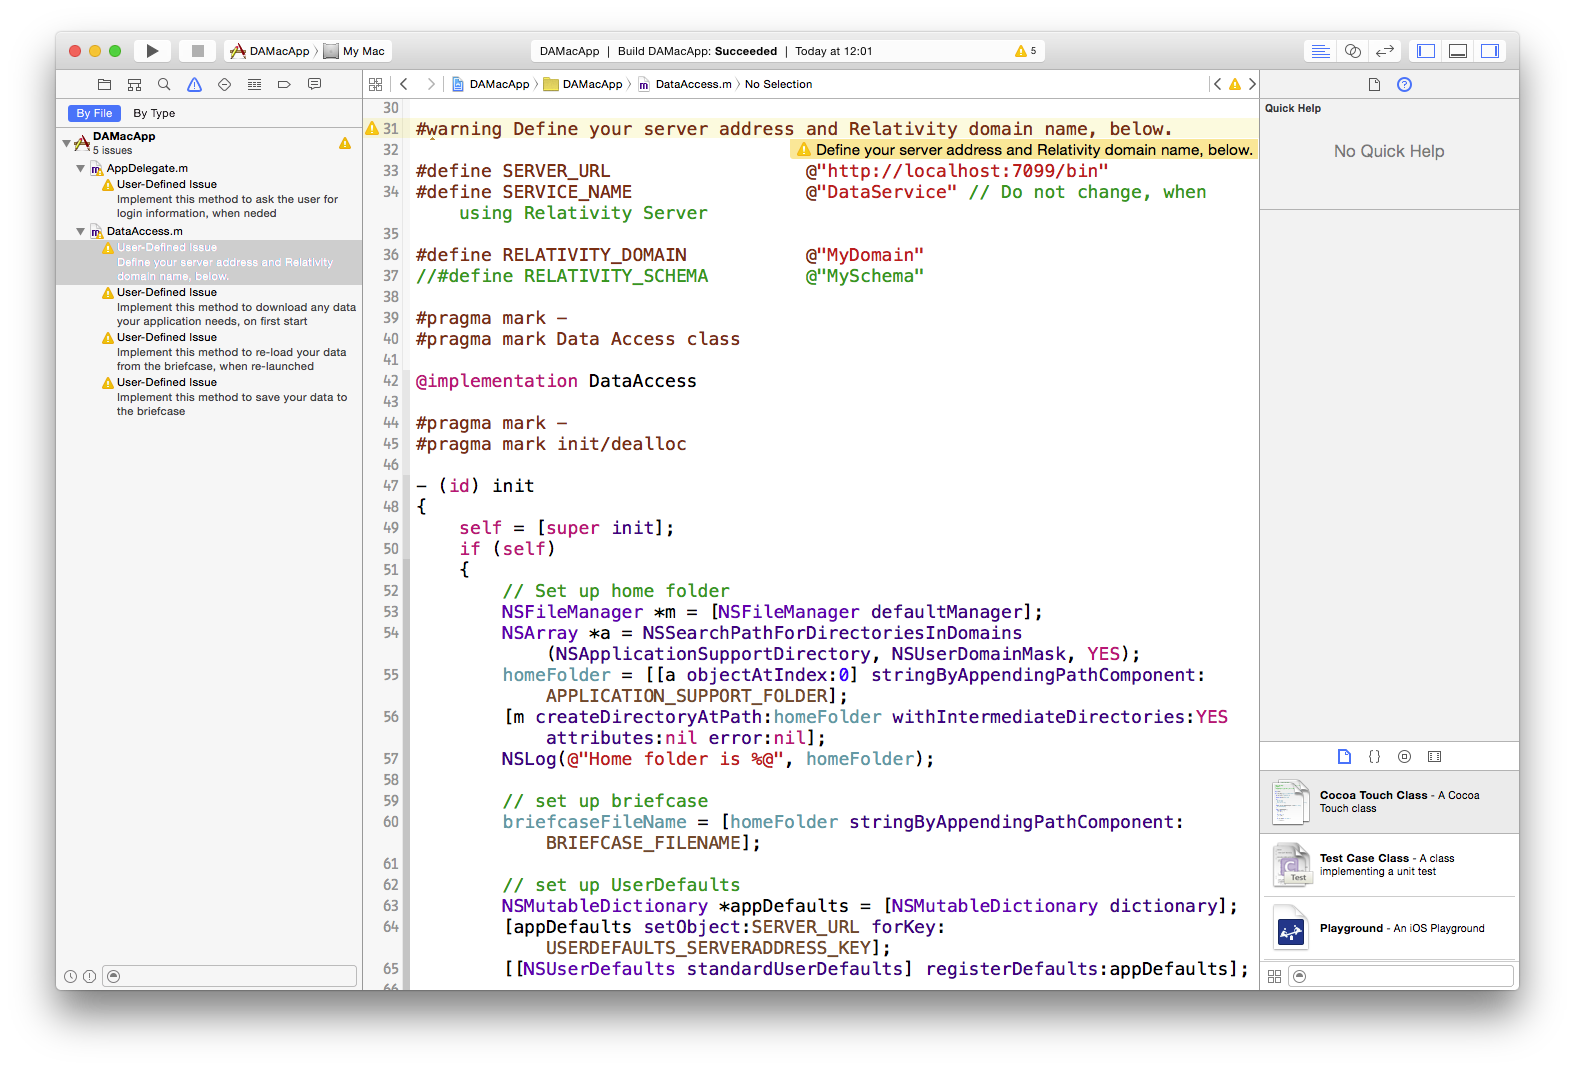
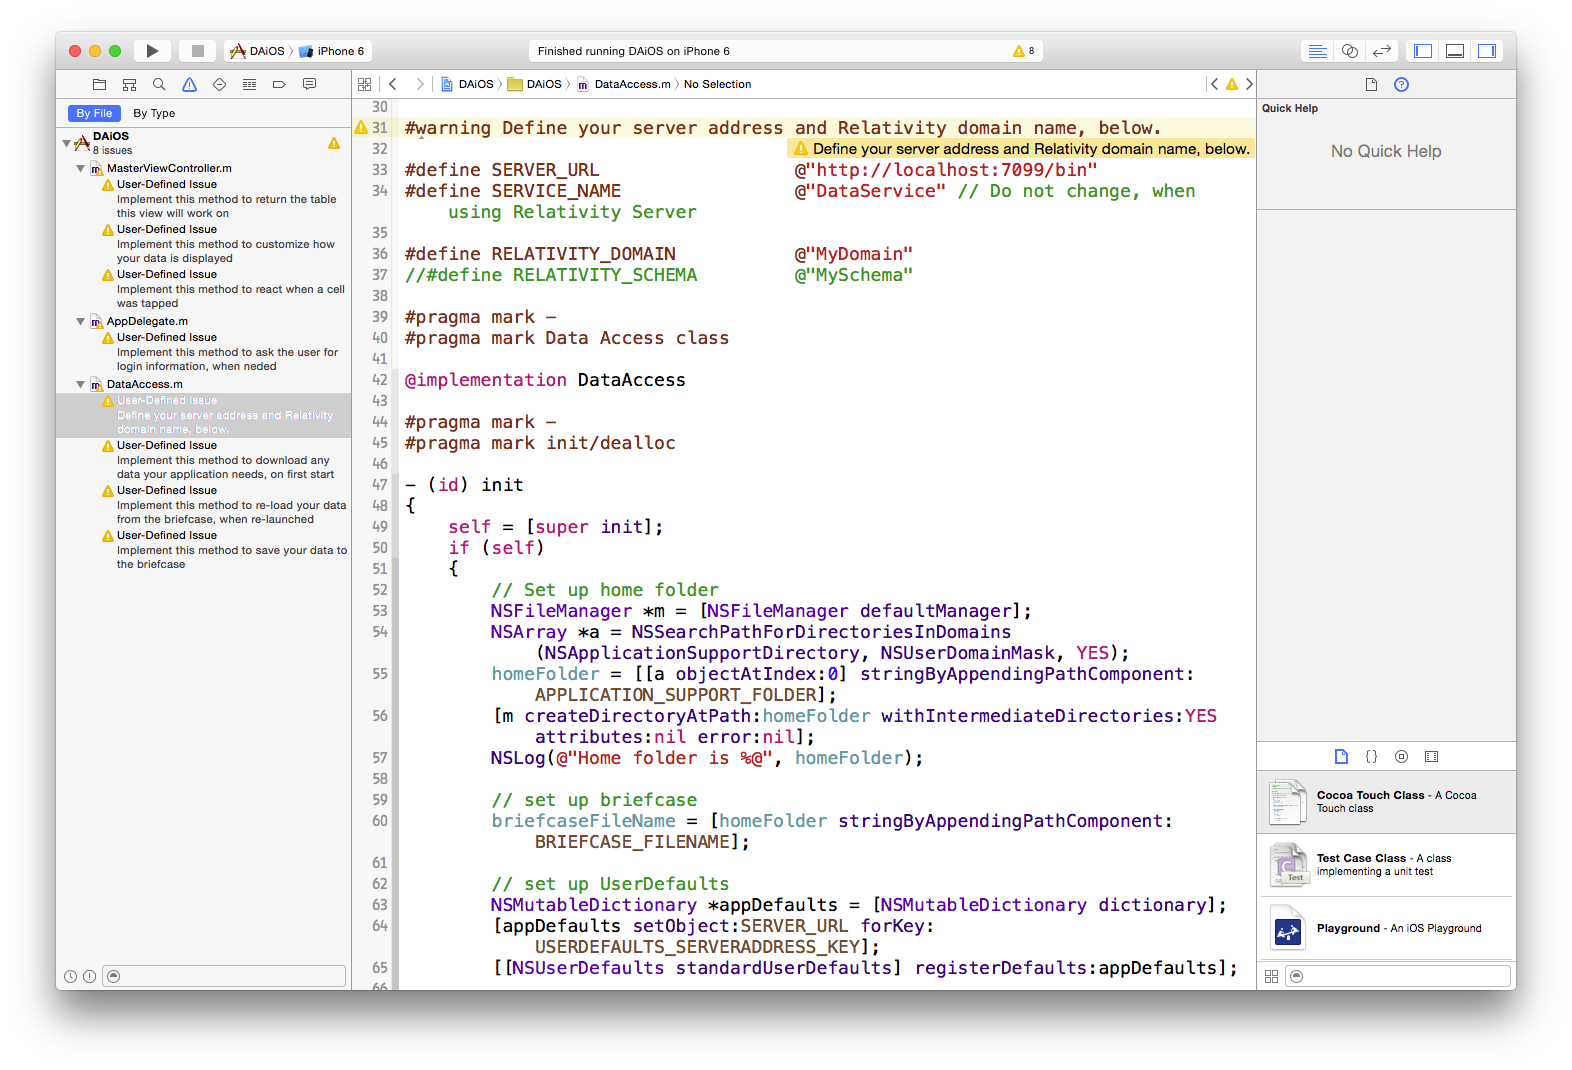
The newly created project is now open in Xcode ready for you to get started. However if you were to build the project at this point (select Product->Build from the menu or press ⌘B) it would build but you will see a number of warnings. These warnings are not due to Data Abstract shipping a shoddy template; instead, these warnings are meaningful markers in the code where you need to implement certain logic (like downloading data from the server) and provide information such as the server URL, the schema name and such to make a working connection to the server. (Note pressing ⌘4 will show the warnings pane in the Navigator panel).
To take a closer look at the newly generated project and the files available then continue on to The Client Project Generated by the Data Abstract New Project Wizard.